 Making candles is an easy hobby to learn that brings great satisfaction in burning your own handcrafted pieces and giving them as gifts; however, making great candles takes a lot of research and access to high quality materials. The scents and dyes that you find in the craft store will make good practice materials, but in the long run, it is much more economical to purchase the basics in bulk from a well-known supplier. Soy wax is finicky and some scents and wicks just don't perform well in vegetable waxes. Your best bet is to find a supplier that provides product reviews and offers sample sizes of fragrances. Personally, I like Bittercreek North as a good first supplier: http://www.candlesupply.com/
BASIC MATERIALS:
-glass containers, try to find thick, heat-resistant glass
-soy wax flakes
-wicks
-wick stickums or glue dots
-chopsticks or paint stirrers
-candle fragrance
-dye
-digital scale
-double boiler or wax melter
-thermometer
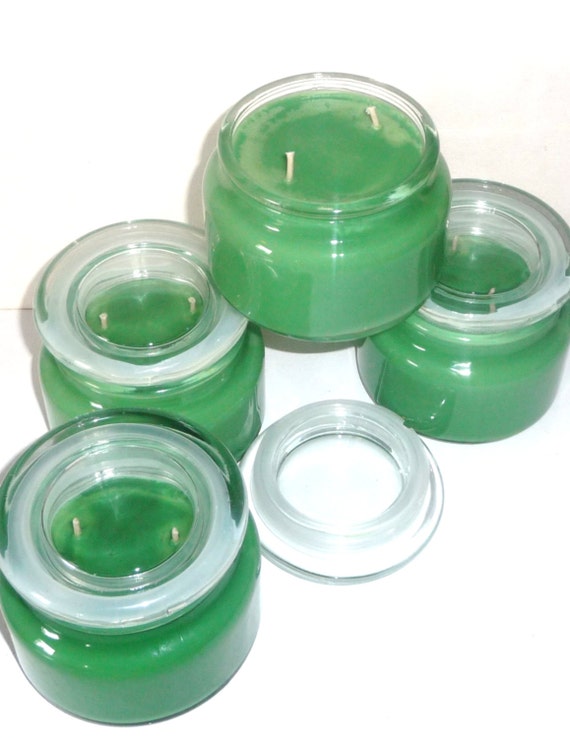
This kit in the picture is from Mill Creek Candles and is only 23.99. It includes most of the basics and instructions: http://www.mcsoywax.com/candlekits.htm
Step 1) Prepare the area you will be using. Candle making is messy! Line your work area with tin foil to protect from spills and gather a few rags.
Step 2) Melt the wax. I use a Presto Pot with a spigot wax melter set at 170 degrees F. You can also use a double boiler or the microwave. Be cautious with the microwave and supervise the wax as it melts, melt it in 2 minute bursts. I do not use the microwave method, because I have had problems with my melting containers breaking or getting too hot and leaking, making a sticky mess in my microwave. If you like to use the microwave, I strongly suggest getting a cheap, secondhand microwave just for crafts.
 Step 3) Prepare your jars and wicks while the wax melts. Use wick stickums or glue dots to adhere the wick to the bottom of the container. Most wicks come with a 15 mm metal tab. If yours do not have the wick tab, they can be bought at any major supplier. Lay a chopstick or paint stirrer across the tops of your jars and bend the wick so it is laying snugly on the wick bar in the center of the jar.
Step 3) Calculate your fragrance usage rate. Soy wax typically holds up to 8% fragrance. If you add too much, it will leak out of your candle. Check your manufacturer for the percent FO (fragrance oil) that is recommended and then calculate how much wax you will be melting and how much FO to add. The easiest way to do this is to get the vessel you will be using as a pour pot and weigh the empty container. When the wax is melted, fill your pouring container with wax and put it on the scale. Subtract the weight of the container itself and you will then know exactly how much melted wax your pouring pot holds. Then calculate how much fragrance to use for one pot of melted wax (typically 8% with soy). Most fragrance oils are sold by the ounce so make sure both the weight of your melted wax and FO are in the same unit of measure.
Step 4) Weigh out the amount of fragrance you will need for your pot of wax and take the temperature of the wax. Very hot wax will cause your FO to evaporate out before you even pour your candle, weakening the scent. Most soy wax melts around 125 degrees F; a good temperature to add the scents is 135-140.
Step 5) Add your scent and dye to the wax just before pouring. I use liquid dyes, but many people prefer uncolored soy candles.
Step 6) Pour the wax in the jars, but leave about 1/2 inch at the top. Soy wax often hardens with sinkholes, air bubbles, bumps, or frosting. You can melt a small amount of wax and do a second pour to fix any unsightly flaws. The other method is to use a heat gun from the hardware store to melt the tops. Be careful to keep the heat on low and at least 6 inches away from your candle. The heat gun is hot enough to ignite the wick if you are not careful, ruining your candle.
Step 7) Test burn your candle. Always trim your wick to 1/4 inch before each burn. Take notes on how the candle burns and what size wick and jar you used. Jot down the fragrance used and how it throws (fills up a room) when lit.
Final notes: make sure to have a first aid kit and a fire extinguisher handy for emergencies, purchase your starting ingredients in the smallest size, in case they don't work well, keep a variety of wicks on hand for testing different size jars, buy canning jars at the grocery store for heat resistant glass and no shipping charge.
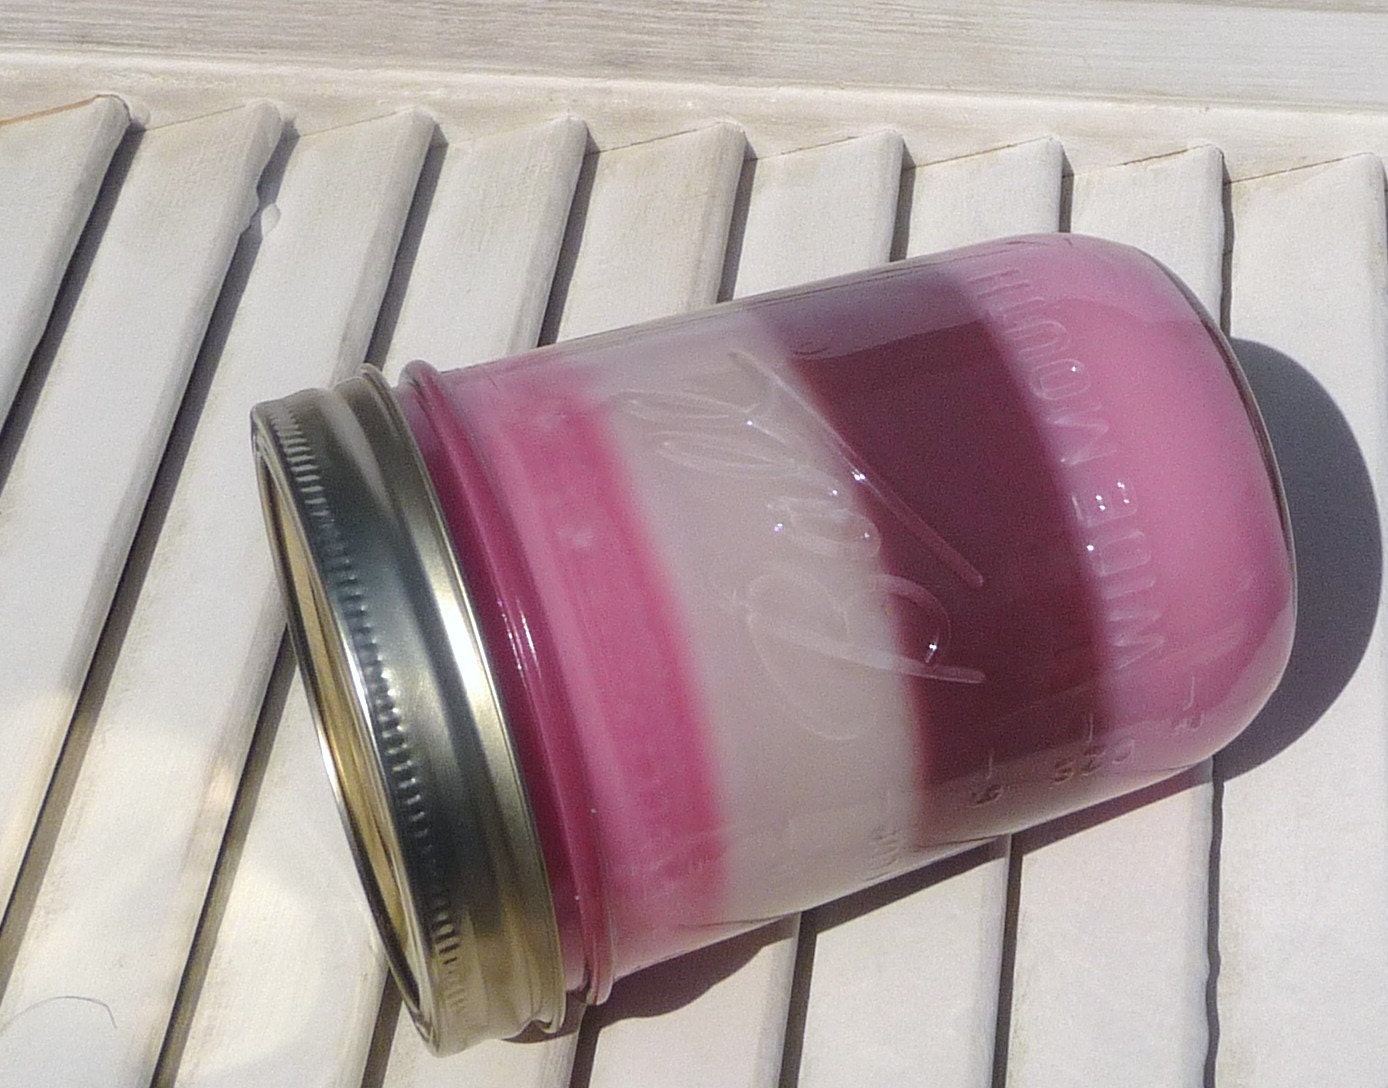
You can see all my candles here in my etsy store Mylana: http://www.etsy.com/shop/Mylana?section_id=7512281
Super blog and very interesting information about the wax melt which I always wanted to search many article but you article is really fantastic.
ReplyDeletewax melt