Showing posts with label jewlery making tools. Show all posts

Monday, November 14, 2011

Memory Wire Bracelet Tutorial, DIY


Finished memory wire bracelet by Mylana


Today, we are going to make a memory wire bracelet, which is not only a very easy project to complete, it is easy for anyone to wear. Memory wire bracelets wrap around the wrist and retract back to the original spiral form for a secure fit on any size wrist.

Tools and Materials
What you will need for this project:

Beads
Memory Wire
Flush Cutters (Side Cutters)
Flat Nosed Pliers
Charms (optional)


What is memory wire and where can I buy it?

Memory wire as sold
Memory wire is a special type of coiled wire that snaps back to its original size and shape. you can buy ring, bracelet, and necklace sizes. It is available at most craft and hobby stores or online at major jewelry making supply sites. Here in Murfreesboro, TN, you can purchase memory wire at Hobby Lobby under the brand name "Beadalon". It should cost 5.00 dollars or less.

Step 1:
Using your cutters, snip off 3-4 coils of memory wire. This type of wire is more difficult to cut than average types of wire.

Step 2:
Initial loop to begin project
Firmly grip the end of the coil with the flat nosed pliers and use force to twist the wire into one small, complete loop. Now, turn your pliers and squish the loop horizontally, so that it is flat and even, with no obvious protrusions. This will be the end of your bracelet. You can also opt to buy special end beads for your memory wire. These beads are only half-drilled and can be secured to your wire with special adhesive.

Step 3:
String your beads on the wire, allowing them to descend completely down the spiral to the loop you first formed. Continue until the bracelet is the desired length.

Step 4:
When you achieve your ideal length for the bracelet, slide the beads into place, with as little gap as possible and trim the wire 1/4 inch or a little less than 1 cm from the final bead. Take your flat nosed pliers and grab the end of the wire and twist inward, creating a loop exactly like the one you used to begin the project. Keep twisting until the loop meets the final bead, with a firm, flush finish. The beads should not slide or be loose. Turn the bracelet and apply horizontal force to your end loop, flattening any sharp ends or edges.

Optional:
Adorn the end loops with charms, drops, or dangles.
End loop with decorative dangle

Wear your new creation!!!


Saturday, August 6, 2011

Jewelry Making, Where to Start? A Beginner's Guide to Supplies

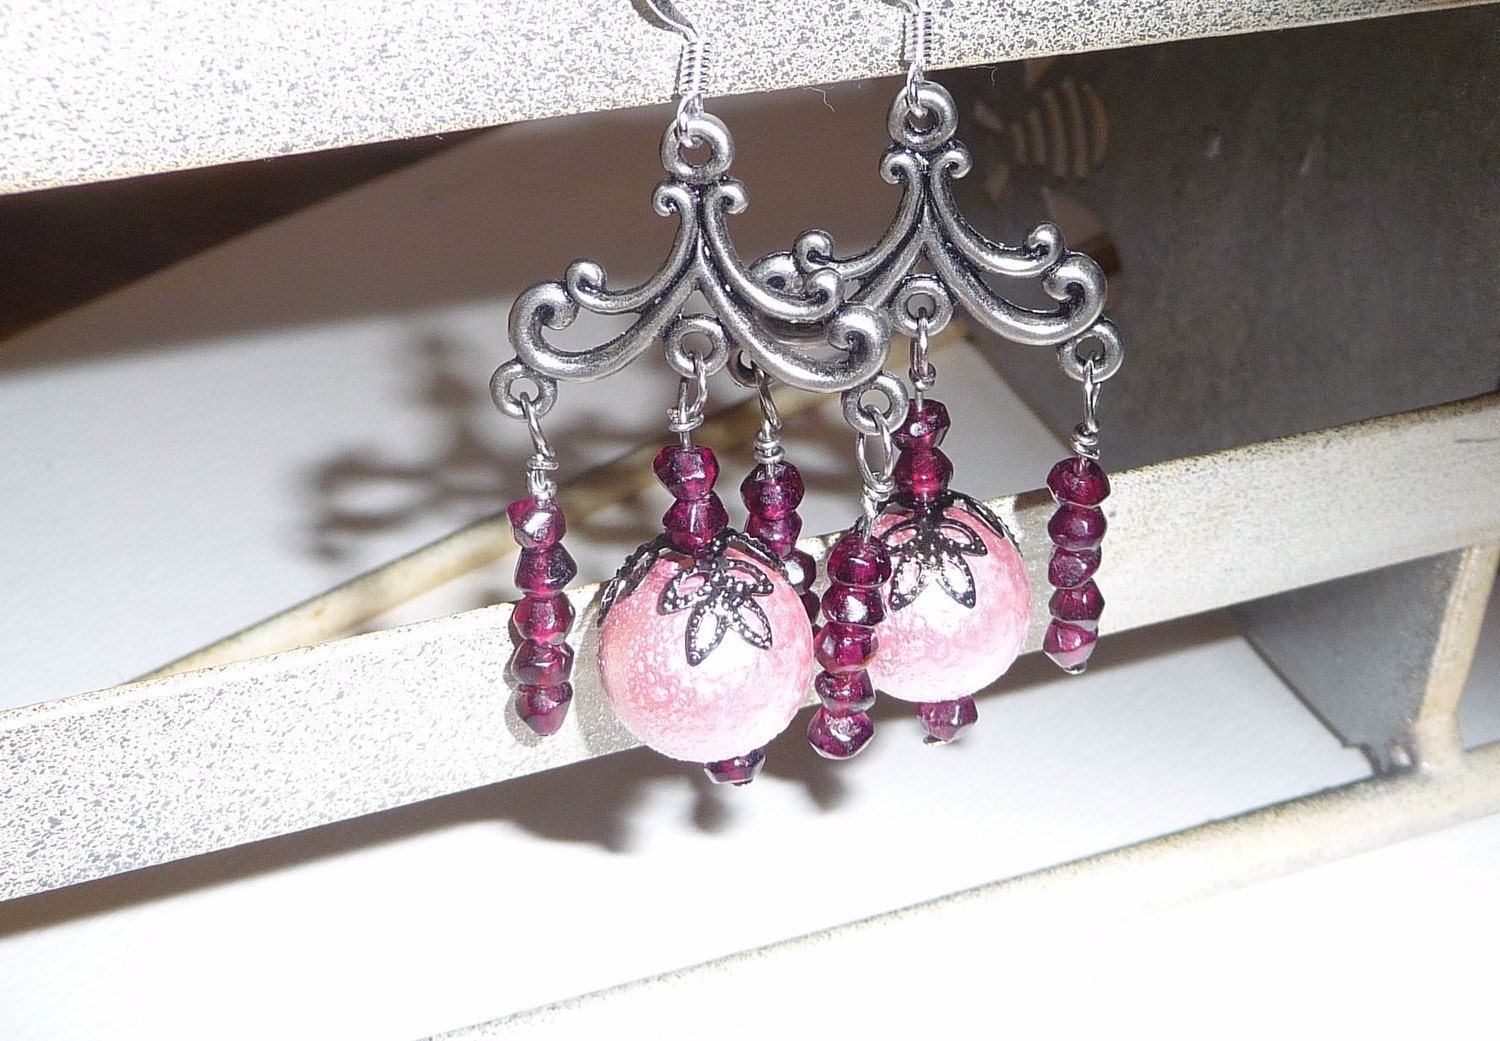
This is one of the very first jewelry items that I learned to make, and believe it or not, I made them from a kit I bought at Walmart, although the garnet beads are from an online supplier.


If you are like me and always wanted to try jewelry making, but are intimidated by all the tools and components, you don't need much more that some basic tools, findings, and beads to be on your way to discovering how to make your own wearable art.


First, you are going to need some basic tools, like this pliers set available from Fire Mountain Gems: http://www.firemountaingems.com/details.asp?PN=H201608TL


Any hobby or craft store should offer a 3-5 piece beginner's tool set for 20 dollars or less. You can buy more expensive implements, but I suggest buying ones in the middle price range- durable enough to last, but not an outrageous investment if you don't like jewelry making.


Now that you have the tools, what's next? The fun part, shopping for beads and findings. In the world of jewelry making, "findings" refers to the components used in jewelry making that are not beads, like clasps and ear wires. You might want to buy a kit, like this one here, so that you have everything you need for a complete project.
http://www.jewelrysupply.com/products/NK1025.html


If you are like me and enjoy being able to mix and match beads and findings, your best bet is to head to the local craft or bead store and start looking in person. Bead Dazzled is a local bead shop in Nashville, offering a huge selection of beads and findings for your projects. They also offer classes and assistance with any questions you may have about purchasing beginner supplies. You can also browse displays of finished projects for inspiration. See http://www.bedazzledbeads.com/ for directions, classes, and hours. 


If you prefer to shop at the local craft store or online, make sure to pick up these basic findings. You can create almost anything on the beginner level with these supplies. Make sure to select everything in the same color to minimize your initial investment cost. When shopping for beads, start with a few different colors and sizes and add few metal decorative spacer beads. 


Basic Findings Shopping List:
-ear wires
-clasps
-chain
-jump rings
-headpins
-eye pins
-beading wire (fireline)
-crimp beads (you will need a crimping pliers)
-wire


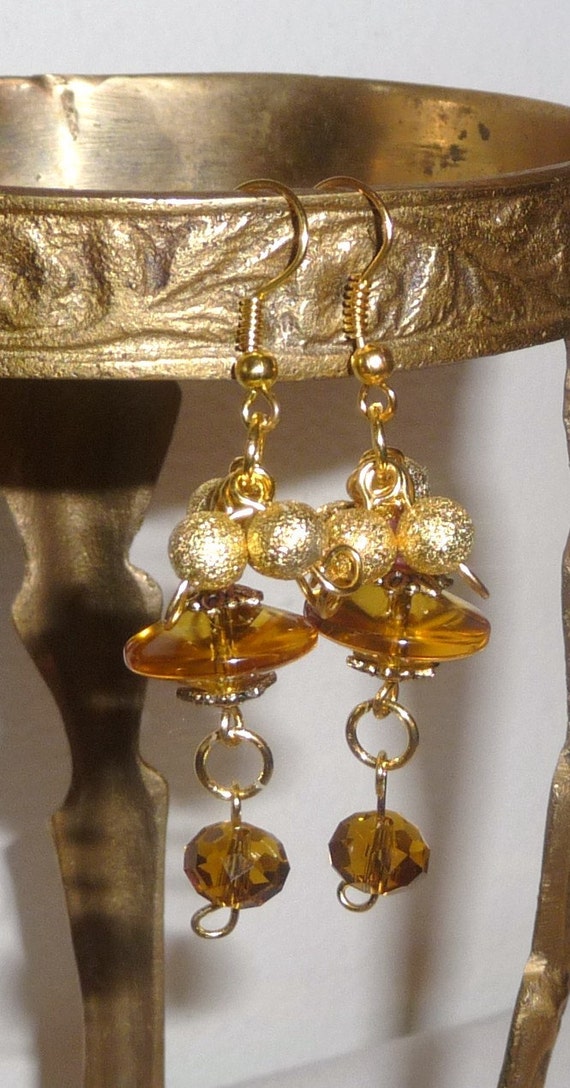
I made these earrings to the right using gold-tone base metal findings. You can also find silver, bronze and copper findings in most craft stores and websites. If you are sensitive to metals, make sure to shop with a supplier where you can ask questions about the materials. Sterling silver is a good choice for those who cannot tolerate nickel alloys; however, it can be pricy. 


So, now you have your tools, findings, and beads. If you didn't buy a kit, where do you learn how to put this all together? You have several options, with the best being to take a class, so that you can see the techniques in person and ask questions. The bead store in Nashville, Bead Dazzled, offers classes.


Second, you can turn to the internet. There are many video tutorials on you tube and on supplier websites, like this video from Auntie's Beads http://www.auntiesbeads.com/Jewelry-Videos.html


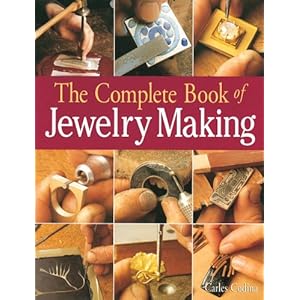
There are also books and magazines. This book is from Amazon, but check your library, too. http://www.amazon.com/Complete-Book-Jewelry-Making-Introduction/dp/1579901883


Finally, another fun source of materials is buying old and broken jewelry to harvest for parts. Watch estate sales, auctions, and mall clearance racks for that special something you could rescue. I hope you have fun starting the adventurous craft of jewelry making. Please follow us on Facebook, where we have many local jewelry designers happy to answer your questions:


http://www.facebook.com/TennesseeCrafts