Showing posts with label mylana. Show all posts

Monday, November 14, 2011

Memory Wire Bracelet Tutorial, DIY


Finished memory wire bracelet by Mylana


Today, we are going to make a memory wire bracelet, which is not only a very easy project to complete, it is easy for anyone to wear. Memory wire bracelets wrap around the wrist and retract back to the original spiral form for a secure fit on any size wrist.

Tools and Materials
What you will need for this project:

Beads
Memory Wire
Flush Cutters (Side Cutters)
Flat Nosed Pliers
Charms (optional)


What is memory wire and where can I buy it?

Memory wire as sold
Memory wire is a special type of coiled wire that snaps back to its original size and shape. you can buy ring, bracelet, and necklace sizes. It is available at most craft and hobby stores or online at major jewelry making supply sites. Here in Murfreesboro, TN, you can purchase memory wire at Hobby Lobby under the brand name "Beadalon". It should cost 5.00 dollars or less.

Step 1:
Using your cutters, snip off 3-4 coils of memory wire. This type of wire is more difficult to cut than average types of wire.

Step 2:
Initial loop to begin project
Firmly grip the end of the coil with the flat nosed pliers and use force to twist the wire into one small, complete loop. Now, turn your pliers and squish the loop horizontally, so that it is flat and even, with no obvious protrusions. This will be the end of your bracelet. You can also opt to buy special end beads for your memory wire. These beads are only half-drilled and can be secured to your wire with special adhesive.

Step 3:
String your beads on the wire, allowing them to descend completely down the spiral to the loop you first formed. Continue until the bracelet is the desired length.

Step 4:
When you achieve your ideal length for the bracelet, slide the beads into place, with as little gap as possible and trim the wire 1/4 inch or a little less than 1 cm from the final bead. Take your flat nosed pliers and grab the end of the wire and twist inward, creating a loop exactly like the one you used to begin the project. Keep twisting until the loop meets the final bead, with a firm, flush finish. The beads should not slide or be loose. Turn the bracelet and apply horizontal force to your end loop, flattening any sharp ends or edges.

Optional:
Adorn the end loops with charms, drops, or dangles.
End loop with decorative dangle

Wear your new creation!!!


Monday, August 22, 2011

Made in TN With a Fall Flair

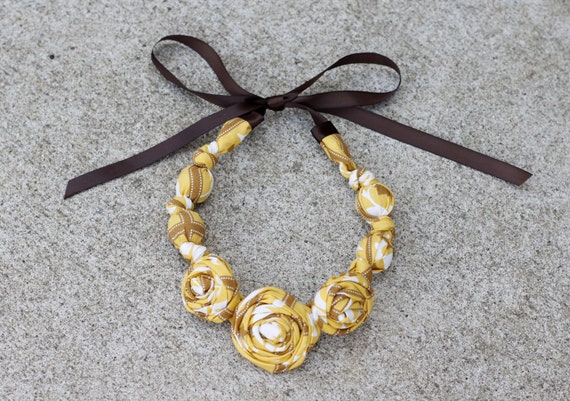
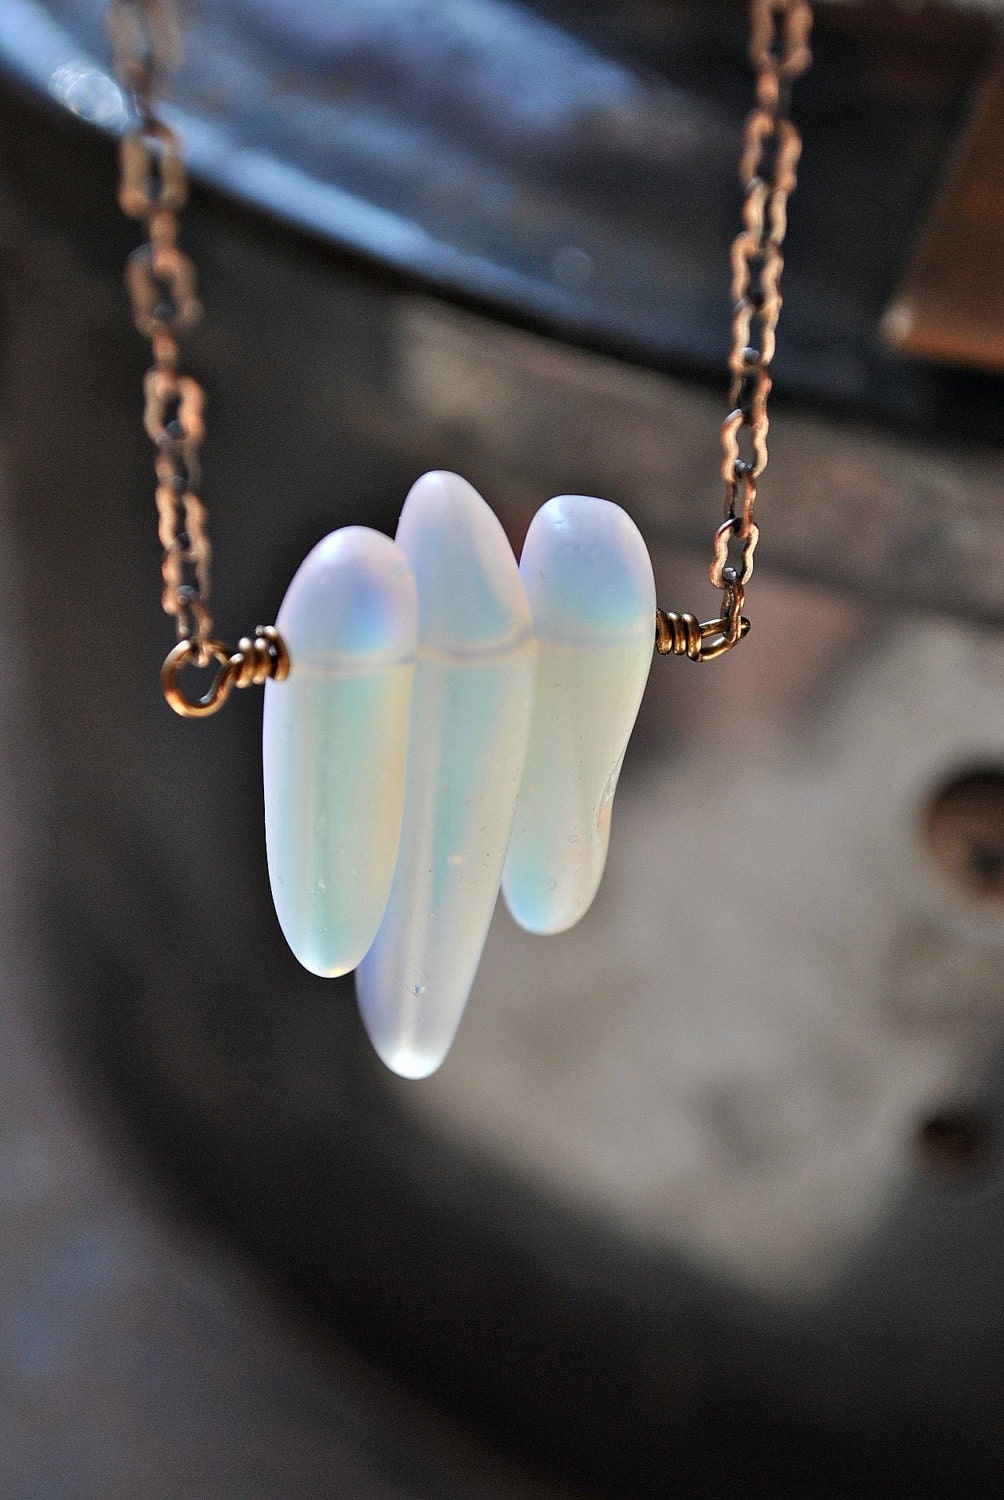
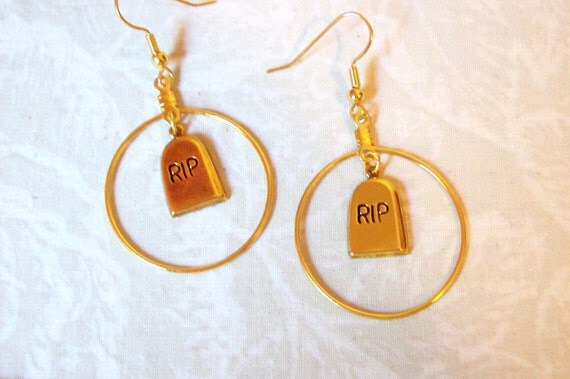
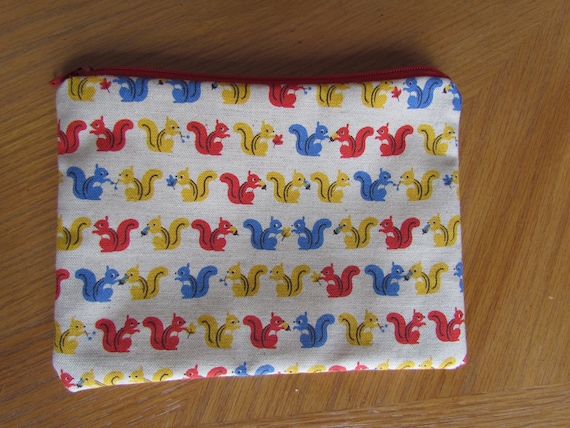
Autumn and craft show season is right around the corner. What a great time to enjoy the colors and flavors of Tennessee. Today I am going to show you some pictures of cute and unique fall items, handmade here in Tennessee. After the pictures will be a list of online shops where you can purchase these items; however, our crafters will also be making an appearance at many local craft shows and events. Follow us here and on Facebook to find out when and where these events are happening: http://www.facebook.com/TennesseeCrafts


Artisans from top to bottom:


VintageHoneyShop, Nashville:
http://www.etsy.com/shop/TheVintageHoneyShop

RebeccasAccents, Woodbury:
http://www.etsy.com/shop/RebeccasAccents

Girl216Designs, Nashville:
http://www.etsy.com/shop/Girl216Designs

NRSVampChick, Clarksville:
http://www.etsy.com/shop/NRSVampChick

Jamie Bowwe, Murfreesboro:
http://www.etsy.com/shop/JamieBowwe

Mylana, Murfreesboro:
http://www.etsy.com/shop/Mylana

AlittleBitofJoy, Nashville:
http://www.etsy.com/shop/ALittleBitofJoy

Thursday, August 18, 2011

Making Vanilla-Vetiver Incense Sticks With Mylana

 Smoky, mystical, and mysterious, the aroma of burning incense has been used for centuries in many cultures for spiritual practices and rituals. Now, in modern times, it is used for meditation and worship, as well as burning it for the pure joy of the intoxicating fragrance. In the past, incense was sacred and very expensive, as it was made out of precious spices and resins, but today, it can be produced for a low cost in your own home, with your own fragrance blends.


In the following pictures, I will guide you through my first attempt at making incense. My friend, Hazel, from an online soap-making group was gracious enough to furnish me with the basic supplies. Kits with all of the ingredients included are available for 26.00 dollars online from Nature's Garden, a well know fragrance supply company: http://www.naturesgardencandles.com/candlemaking-soap-supplies/item/kit-40/-*Incense-Making-Kit.html


The beginner kit includes unscented sticks, cones, fragrance, and DPG. Wait...what is DPG and why do we need it? Dipropylene Glycol is a solvent used to cut the fragrance oil, so that it absorbs into the sticks and dries out faster. Pure fragrance is oil based and very viscous, if it is not cut with a solvent, your incense will be moist with a high oil content and be extremely smoky.


Here is what Wikipedia says about DPG, "Dipropylene glycol finds many uses as a plasticizer, an intermediate in industrial chemical reactions, as a polymerization initiator or monomer, and as a solvent. Its low toxicity and solvent properties make it an ideal additive for perfumes and skin and hair care products. It is also a common ingredient in commercial fog fluid, used in entertainment industry smoke and haze machines."


In order to make the incense, we need to first gather our materials, sticks, fragrance, DPG, and shallow container where we can lay the sticks flat to soap in the fragrance solution. Next, we need to prepare the fragrance solution. That is done by mixing 2 parts DPG to 1 part fragrance oil. Make sure you are using uncut fragrance oil from a reputable supplier that is suitable for making candles. Check your supplier specifications if you are unsure. 


For my fragrance blend, I used a combination of Moonworks ancient incense and NDA tahitian vanilla. I thought that is was a little sweet and missing some depth, so I also added some vetiver fragrance oil (not the essential) from Southern Soapers. I ended up with a combination of 6oz of DPG and 3 oz of my fragrance oil blend (vanilla, vetiver, ancient incense). Smooth, sweet, and intoxicating!


Next, I laid the sticks flat in the bottom of the shallow container and poured the DPG/fragrance solution over the sticks. Here they are soaking.


Currently, the sticks have been soaking for 24 hours; however, they are not quite ready yet. According to expert tips, the best aroma is achieved by soaking for 48 hours, then removing the sticks and laying them flat on a layer of paper towels until they are dry to the touch. The sticks are coated with packed sawdust to absorb the fragrance and the DPG solvent allows it to sink into the wood and evaporate faster. This last pictures shows the sticks right now in the solution. It has gotten dark and thick as some of the wood particles from the sticks break off and the DPG solvent evaporates. Tomorrow, I will remove the sticks and dry them in open air until they are ready to test.


Note: Moonworks and NDA (New Directions Aromatics) are two suppliers of candle and soap making fragrance oils. You can combine fragrance oils from different suppliers with the ones included in the beginner's kit, as long as they are designated safe for making candles and are undiluted. 


While I do not yet sell any incense, you can find Mylana handmade soaps in candles in my etsy shop:  http://www.etsy.com/shop/Mylana


Tuesday, August 16, 2011

Hillbilly Homebrew! Mylana Welcomes Harvest Season With Home Made Hard Cider

A wise man once said, "Beer is proof that God loves us and wants us to be happy". A fine saying indeed! Today, I will be sharing with you a surprisingly easy way to brew your own beer and more, as I walk you through the first phase of making home made hard cider. Yum! 


"It doesn't get much easier than this." That is the slogan for a home brewing supply company called Mr. Beer. You can find their products online here: 
http://www.mrbeer.com/category-exec/category_id/181


The Mr. Beer brewing system is a 2 phase process. First, you combine the ingredients with water in the brewing keg and wait 7 days for it to ferment (turn to alcohol). Then, you simply open the spout to bottle the beer, top each bottle off with a small scoop of sugar for a nice carbonation, seal the bottles and wait 2-4 weeks for your beer to mellow and carbonate. The hardest part is waiting! 


When you order your basic kit from Mr. Beer, everything comes included in premeasured amounts, except the water and white sugar. All you do is combine the contents of the cans and packets with water in the brewing keg. After you have a few batches under your belt, you deviate from the standard flavors and create your own recipes. You can add fruits, seasonings, spices, specialty yeasts, or premium beer mixes. Today, I used the Mr. Beer Hard Apple Cider Kit, but added my own personal touch. I added one can of apple juice concentrate, 2 Tbs. of pumpkin pie spice, and 1 cup of dark brown sugar to the fermenting container, in addition to the contents of the Mr. Beer cider kit. Yeeha, that's gonna be some wickedly high alcohol cider when she's done! Anything you add to the keg during fermentation that contains natural sugars will increase the alcohol content of the finished product. 


The first thing I did to start brewing was to gather all of my ingredients. Next, I used the included one step sanitizer to treat the keg and my stirring spoon, in order to reduce bacterial contamination. Don't forget to sanitize the keg lid, too. After all of my equipment was sanitized, I filled the keg with 4 quarts of room temperature tap water. Never pour boiling water into your plastic keg, it could melt and warp.


Then, I measured out one cup of dark brown sugar and 2 Tbs. of the spice blend and added that to the apple juice concentrate and hard cider mix in a medium saucepan. I heated the mixture on the stovetop on medium heat until all the brown sugar was dissolved.


Then, I added the yeast packet to the brewing keg, stirred it up, and finally added the spice and cider mixture to the keg. Here is the sauce pan with the apple and spice mixture. And the other picture is stirring the yeast into the keg. Right now, the fermenting keg is sealed up and "sleeping". It is best to keep it in a moderate temperature zone around 70 degrees F and out of direct sunlight. The keg cannot be opened during fermenting. After 7 days, I can drain some cider out of the spout into a glass and check for clarity and taste. It should be relatively free of sediment and have a sweet, slightly yeasty taste. If it looks ready to bottle, I will then be able to bottle the cider with a little bit additional sugar and wait at least 10 more days to drink it, for carbonation and maximum flavor to develop.


I will be blogging again when the cider is finished with pictures! Until then, please follow our blog and keep reading about handmade items in Tennessee. 


Along with brewing beer, I also operate the etsy shop Mylana featuring my handmade candles, soaps, and jewelry: http://www.etsy.com/shop/Mylana


Thursday, July 21, 2011

That Vintage Look, How To Oxidize Jewelry With Liver of Sulfur

Hi, I'm Clare and I operate the Etsy shop Mylana. http://www.etsy.com/shop/Mylana
One of my favorite ways to relax before bed is to make jewelry, but sometimes I get disappointed becuase the pieces look too much the same. In order to spice things up a bit and add variety, I like to add a patina, or an aged coating, to some of my pieces. In this tutorial, I will show you how to oxidize your jewelry in 5 minutes, using this easy method.

First, you will need liver of sulfur gel. I purchased mine from this etsy seller: http://www.etsy.com/shop/matsbeads The cost was less that ten dollars and has been enough to oxidize 4 batches of jewelry.


The next step is to mix the gel with hot water. 1 teaspoon for 12 oz of water is recommended. Watch out, it does smell very strongly of sulfur! You might want to do this outside. Some alloys do not patina well, but if your piece is sterling silver, silver-plated, or copper, it will patina. From experience, not all bronze or brass look metals will patina; you need to experiment.


After you mix your liver of sulfur with the hot water, you will have a brown solution of sulfur water. Gather the pieces you want to oxidize, and place them in the solution. It will discolor cloth and felt beads, so you can oxidize your findings before assembling the jewelry as well.

Leave the jewelry in the solution for 3 or 4 minutes and check the level of discoloration. If there is no patina on the object, you need to add more concentrated gel. Check again in 3 minutes and if there is still no discoloration, your metal alloy does not contain enough pure silver.


When the desired level of darkness is attained, remove the items from the solution. If you use your hands, the solution will smell of sulfur, but it will not stair your hands. Lay the jewelry on a cloth to dry and dispose of the sulfur water. According to the manufacturer, the sulfur solution is great for fertilizing plants, tomatoes in particular, so don't dump that water down the drain, give your vegetables or houseplants a mineral boost!


Here is the jewelry after the oxidation process:

Sunday, March 13, 2011

Sunday Shop


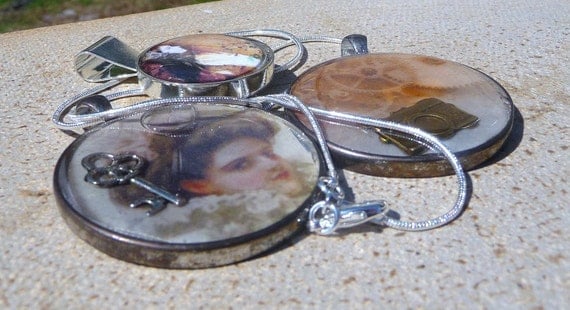
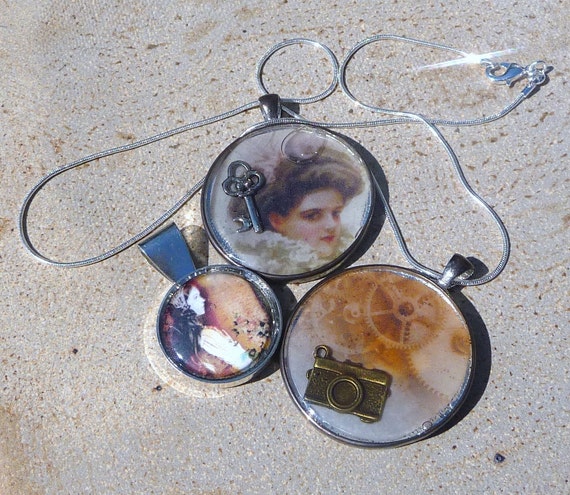
Clare Corcoran has been making soaps and candles for 10 years. Her shop Mylana features a bright, upbeat variety of soaps and candles. Not only that, but she has also mastered the art of jewelry. Her pieces are fun and romantic. This beautiful Silver Snake Chain necklace with a vintage look has interchangeable pendants. Every piece of jewelry that Clare makes is one of a kind, because she uses a lot of found materials. Not only are they individualistic - they are also eco-friendly.


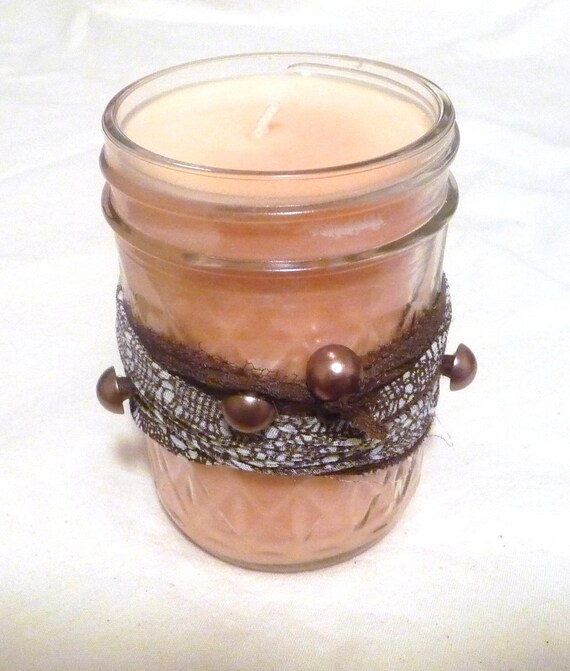
I would have to assume that a love for cooking inspired this adorable 22oz Blackberry Jam Candle. It looks delicious. My children would have a hard time trying not to eat it if it was in my kitchen. Who am I kidding? So would I. 
It is wax suspended in a wax gel. It will burn for over 100 hours and weighs two pounds. 
All of the candles and soaps in Mylana are limited edition until Clare can get a studio to increase her production.


This Vegan Herbal Mint Soap is great because it's minty, not sweet. You can buy it for men or women. 


Clare, how long have you been crafting and what got you started?
I have been making candles since high school and soap since college. I got started making candles from a kit at a church rummage sale when I was 14 or 15 and then when I was in college, my mom worked for a publishing group and they were publishing some books on crafts and soapmaking. She brought the books home and it looked awesome, but the supplies were hard to find, since not everyone had the internet. In 2000, I discovered Brambleberry, a great online supplier, and made my first cold process (from scratch) soap. I started doing jewelry in 2010 after my husband died as a form of meditation and finding peace.
I got started in etsy after my husband died of cancer at age 34. He loved Regretsy and had the book, so my sister contacted Regretsy about making him an urn, because I couldn't afford an urn or anything fancy. Here is the story:www.regretsy.com/2010/09/17/for-tim/

I started thinking about the urn and how it has references to Irish things, World of Warcraft, dragons and all sorts of things Tim loved, and that got me thinking about etsy. One week after he died, I tied up loose ends there and my place of employment had gone out of business, so I decided to get rid of almost everything and move to TN from WI to start over. My mom and dad used to live in Gallatin for his work, but I chose Murfreesboro because the VA is here and I served in Afghanistan, so I use the VA hospital and I don't have a car. When I got to TN, I didn't have a job or much money besides a small pension from the VA (I got medically retired when I was 26 for a non-combat related disease that I had diagnosed while overseas) and I had a lot of time on my hands, so I decided to get to work crafting and start working on making an etsy store.

Sometimes I wonder if my stuff is good enough to sell, but I think about Tim and his regretsy urn and all that ugly stuff they find that people are selling, and suddenly, my stuff doesn't look half bad!

I think we can all agree with that!


What are some big differences between Wisconsin(where you're from) and Tennessee?
[Murfreesboro] is very hard to get around as a pedestrian, no crosswalks, lots of traffic, and no bus service on weekends. 
Health care at the Va is great and accessible. It is clean and has a more diverse population than Stevens Point. I have a BA in Spanish, and while I have forgotten a lot, there is more opportunity here to use it. The climate is also nice and mild.
Back in WI, the population of the cities are a lot smaller, but they seem a lot more progressive environmentally, easier to navigate on bike or on foot, and more friendly to small business. There are a lot of farmer's markets and interesting shops and eateries that are not chains. Supporting local business is important to me and there is not a lot here in Murfreesboro that I have found. I do like the Bargain Center thrift store though. I buy a lot of candle jars there.


How long have you been playing WoW?
Tim and I used to play World of Warcraft together a lot, since he was very sick for a long time and couldn't do much else. We started playing in 2008, and our first characters that we played together were Mylana (me, a troll priestess) and Thornhide (him, an orc rogue). I chose Mylana for my shop so that my online friends could find my stuff easily and because the game was such a fun thing we could do together up until the end. He did not have insurance when he got diagnosed with cancer, so his online friends from wow pitched in together before he died so we could come here to TN on vacation. He was supposed to come with me and be part of a clinical trial in Nashville.
That's very romantic that you would name your shop after something that you and your husband did together. 


What is your favorite thing to make?
My favorite thing to make are candles, but the supplies are also the most heavy, expensive, and hard to get, so I don't do it often. 


Stop by her shop, Mylana, and show Clare some love! 
And thanks so much, Clare, for letting us pick your brain for this week's feature! I hope that you get to have your own studio in the near future. 


-The Murfreesboro Etsy Team
http://www.etsy.com/teams/5505/murfreesboro-etsy-team


featured shop: www.mylana.etsy.com
featured shop's fb fanpage: http://www.facebook.com/Mylana.creations


EDIT: 


PS. I have one of Clare Corcoran's candles in my home now. Delish! Get one for your home!