Showing posts with label tutorial. Show all posts

Wednesday, February 15, 2012

How To Make Soy Tea Light Candles: Tutorial

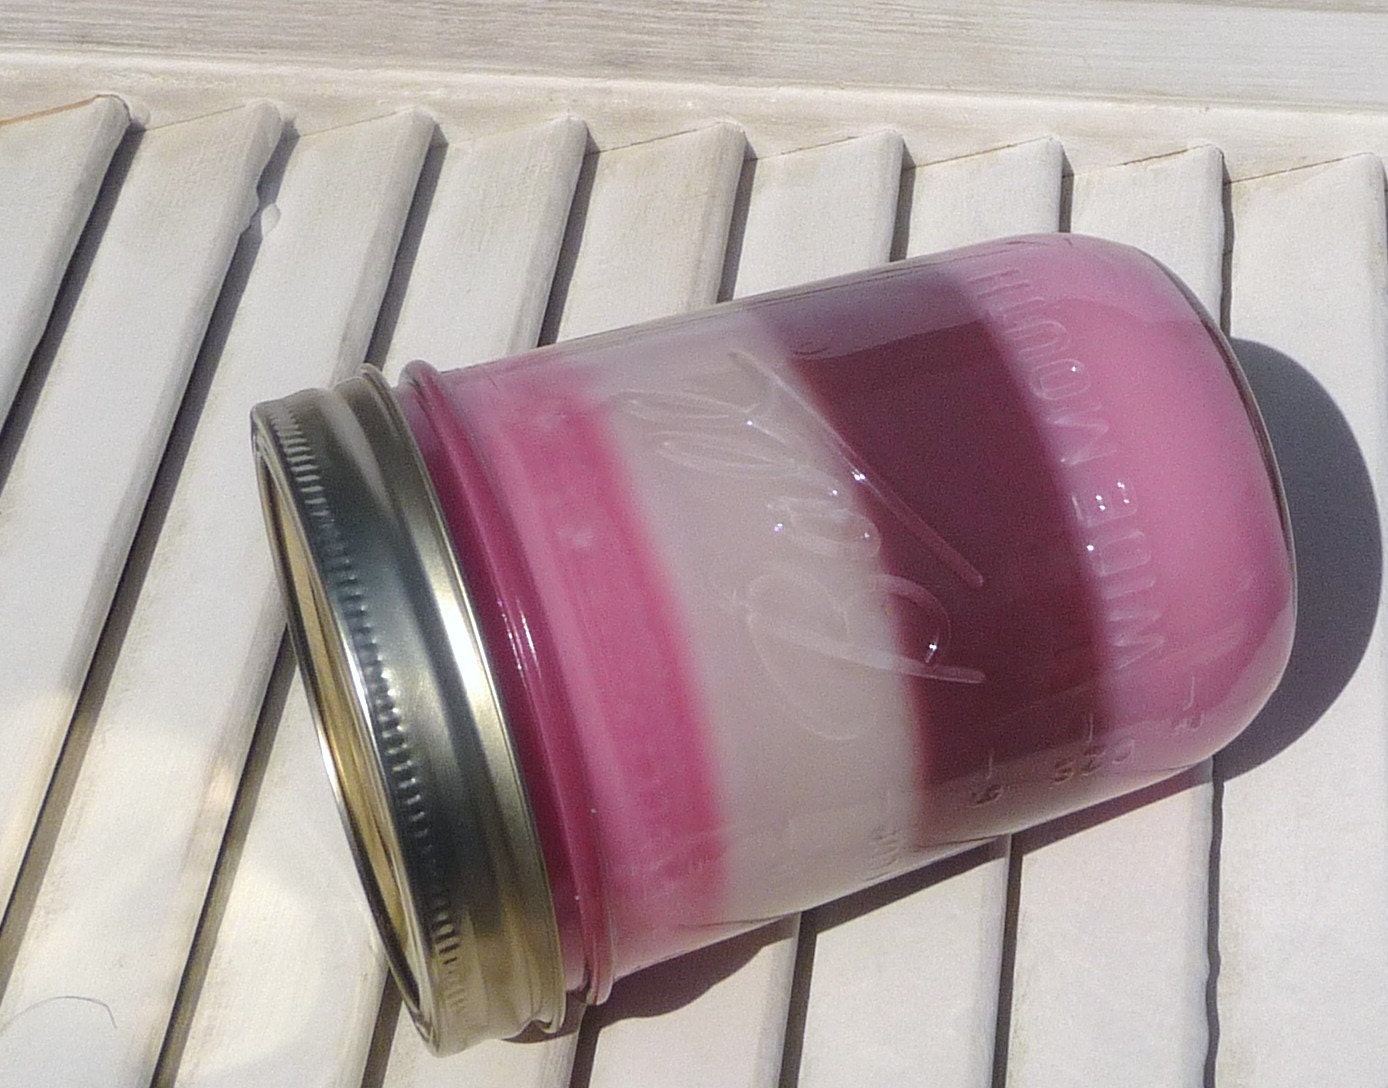
Handmade Soy Tea Light Candles
In this article, I will walk you through the steps of making soy wax tea light candles in clear, polycarbonate cups. This is an intermediate level candle making project, because you will need to make a few test batches to determine a good match for the size and type of wick to use. Some suppliers sell kits with everything you need to get started. In that case, making tea lights is an easy way to being making soy candles. I prefer the polycarbonate cups to metal cups because they are sturdier and do not bend, warp, or dent easily; however you can use metal cups with these directions as well.

MATERIALS:
China Rain Tea Lights
soy wax
wicks
polycarbonate cups
color
scent
packaging

EQUIPMENT:

wax melter/double boiler/ microwave
small pouring pot
utensil for stirring wax
waxed paper or tin foil for lining work area
thermometer
scale
cleaning rags
scissors


STEP ONE: PREP YOUR WORK AREA
Lay down waxed paper or tin foil over the surfaces you will be using to protect from wax spills and gather your equipment.
Candle Scent and Dye

STEP TWO: MELT YOUR WAX
I use a presto pot melter with a spigot. You can buy these online at Etsy.com or other candle suppliers. Set the temperature to just under 200. Other options include double boiler or microwave. Only use the microwave for pure soy wax and do not leave it unattended. Zap the wax for two minute increments, stir, and put it back in for two more minutes, until the wax is melted.

STEP THREE: LAY OUT CUPS AND WICKS WHILE THE WAX IS MELTING:
Organize your cups and wicks into neat and orderly rows while the wax melts. Get your wicks ready by straightening each one and having them close to your cups for easy access. Once you pour the wax, you will need to move fast. For wick size, I like LX 12 tabbed wicks for soy wax best. In the picture, I am using zinc core tealight/votive wicks. You will need to make several small batches to test before making a large amount. The wick cannot be too big, or your flame will warp the plastic cup and your tea lights will burn too fast.

Cups and Wicks Ready For Wax
STEP FOUR: COLOR AND SCENT YOUR WAX
Most soy waxes hold 8-10% fragrance. Consult your supplier for the exact amount you should use and only use scents recommended for candles. Do not use commercial perfumes, air fresheners, potpourri oils, or craft store scents made for soaps only. This is a fire safety issue. The easiest way to determine how much scent to use is to weigh the wax prior to melting it and then weigh the fragrance. I like to add the fragrance and color to the melted wax around 140-150 degrees F. I mostly use liquid candle dye. If you are using solid blocks, you can add the dye to the wax before melting. Adding scent to very hot wax will burn off some of the fragrance, resulting in a weaker scent for your candle.


STEP FIVE: POUR THE WAX
You can transfer the melted wax to a measuring cup or smaller pouring pot if it seems you are spilling too much. Fill the cup all the way to the top, without overflowing, with melted wax. You can pour 40-50 cups at a time before the wax starts to harden. After you have filled a few dozen cups, break from pouring to insert the wicks.


Freshly Poured Tea Lights With Wicks
STEP SIX: ADD THE WICKS
Since tea light cups are small, adding and centering the wick is easy. Simple add the straightened wick to the cup, center it, and move on. If your wicks flop over or slide around, they are most likely too long or your wax is too hot, causing the coated wicks to lose stability. Trim the wicks shorter and try again. If your problems persist, try a wick with a larger base (metal tab on bottom) next time

STEP SEVEN: LET THE CANDLES HARDEN
This will take about 2 hours for tea lights.

STEP EIGHT: TRIM WICKS AND CLEAN EXTERIOR
Using a scissors, trim the wicks to 1/4th inch and wipe and excess or spilled wax off the exterior of the candle with a clean rag.

You are now ready to test your candles! Tea lights should burn for 6-10 hours without the cup warping, melting, or spilling wax. If you get a candle that burns too fast, too smoky, or warps the cup, try a test batch with a smaller wick. Remember, soy wax needs one size bigger wick than paraffin wax.


Saturday, August 6, 2011

Jewelry Making, Where to Start? A Beginner's Guide to Supplies

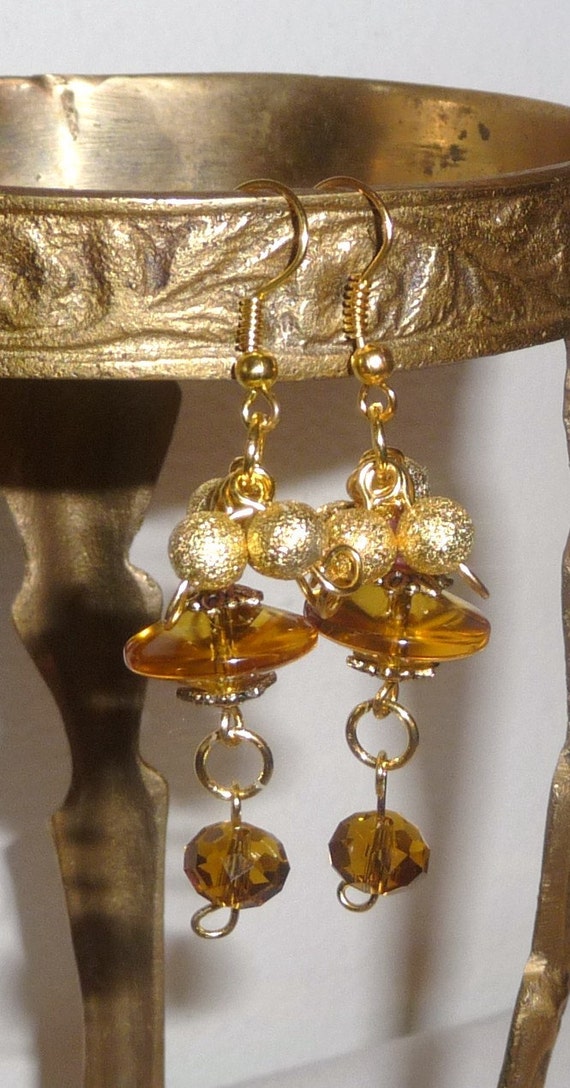
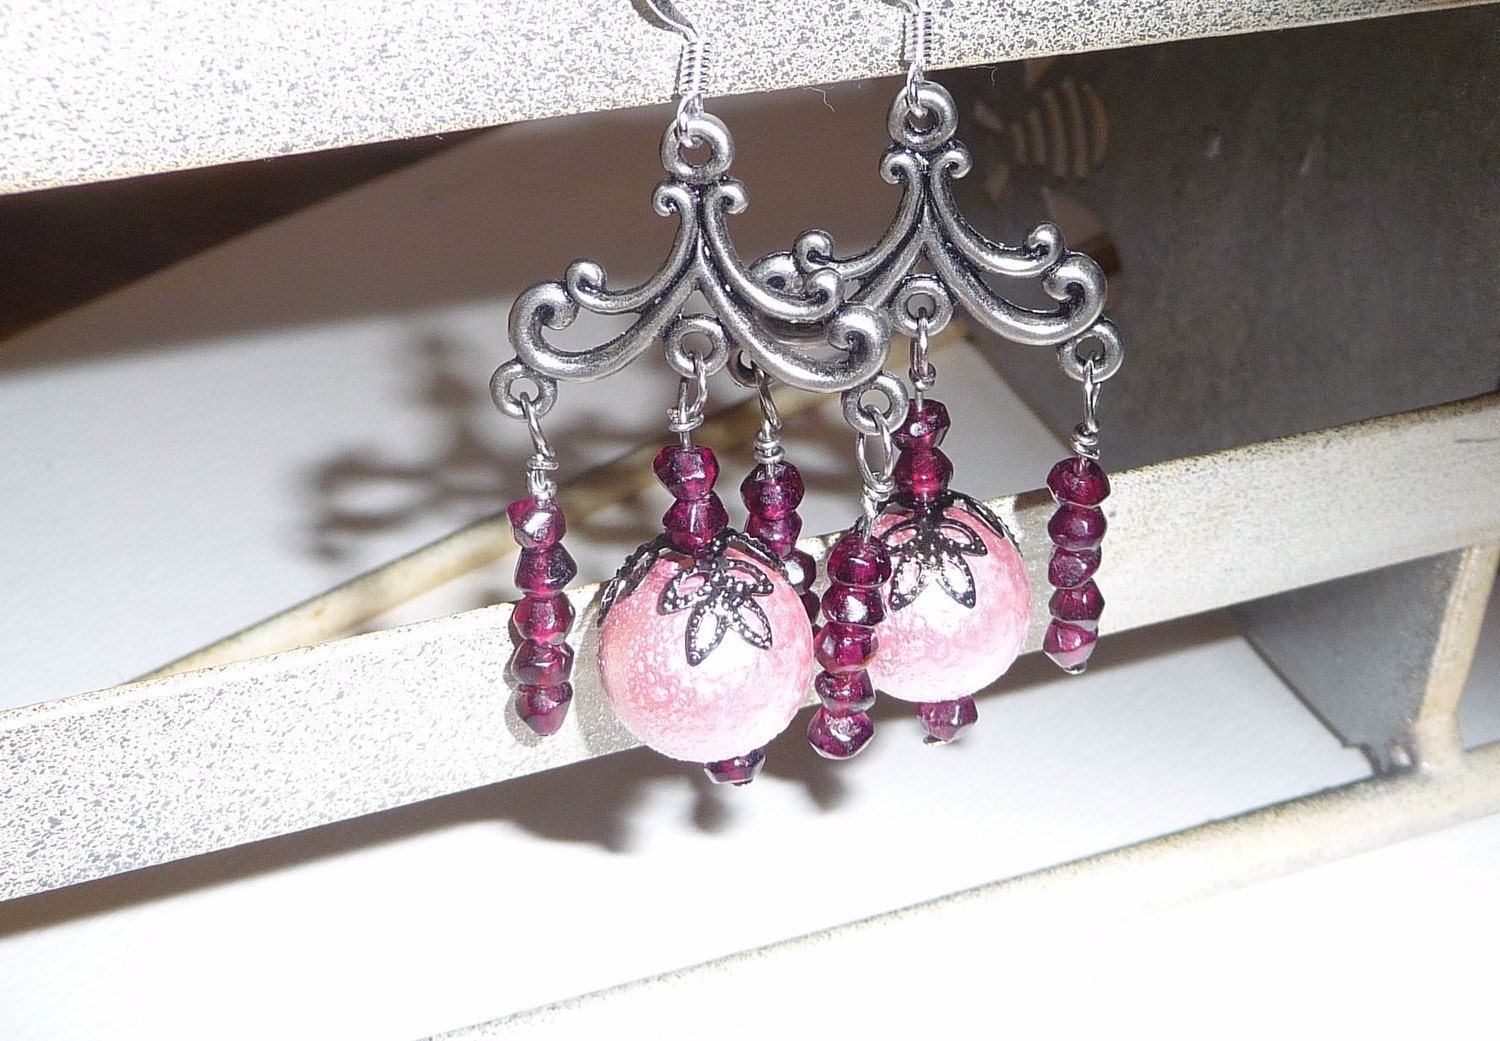
This is one of the very first jewelry items that I learned to make, and believe it or not, I made them from a kit I bought at Walmart, although the garnet beads are from an online supplier.


If you are like me and always wanted to try jewelry making, but are intimidated by all the tools and components, you don't need much more that some basic tools, findings, and beads to be on your way to discovering how to make your own wearable art.


First, you are going to need some basic tools, like this pliers set available from Fire Mountain Gems: http://www.firemountaingems.com/details.asp?PN=H201608TL


Any hobby or craft store should offer a 3-5 piece beginner's tool set for 20 dollars or less. You can buy more expensive implements, but I suggest buying ones in the middle price range- durable enough to last, but not an outrageous investment if you don't like jewelry making.


Now that you have the tools, what's next? The fun part, shopping for beads and findings. In the world of jewelry making, "findings" refers to the components used in jewelry making that are not beads, like clasps and ear wires. You might want to buy a kit, like this one here, so that you have everything you need for a complete project.
http://www.jewelrysupply.com/products/NK1025.html


If you are like me and enjoy being able to mix and match beads and findings, your best bet is to head to the local craft or bead store and start looking in person. Bead Dazzled is a local bead shop in Nashville, offering a huge selection of beads and findings for your projects. They also offer classes and assistance with any questions you may have about purchasing beginner supplies. You can also browse displays of finished projects for inspiration. See http://www.bedazzledbeads.com/ for directions, classes, and hours. 


If you prefer to shop at the local craft store or online, make sure to pick up these basic findings. You can create almost anything on the beginner level with these supplies. Make sure to select everything in the same color to minimize your initial investment cost. When shopping for beads, start with a few different colors and sizes and add few metal decorative spacer beads. 


Basic Findings Shopping List:
-ear wires
-clasps
-chain
-jump rings
-headpins
-eye pins
-beading wire (fireline)
-crimp beads (you will need a crimping pliers)
-wire


I made these earrings to the right using gold-tone base metal findings. You can also find silver, bronze and copper findings in most craft stores and websites. If you are sensitive to metals, make sure to shop with a supplier where you can ask questions about the materials. Sterling silver is a good choice for those who cannot tolerate nickel alloys; however, it can be pricy. 


So, now you have your tools, findings, and beads. If you didn't buy a kit, where do you learn how to put this all together? You have several options, with the best being to take a class, so that you can see the techniques in person and ask questions. The bead store in Nashville, Bead Dazzled, offers classes.


Second, you can turn to the internet. There are many video tutorials on you tube and on supplier websites, like this video from Auntie's Beads http://www.auntiesbeads.com/Jewelry-Videos.html


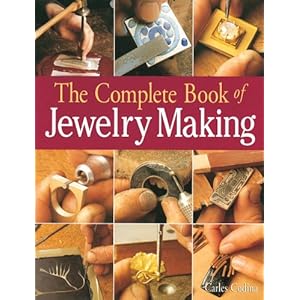
There are also books and magazines. This book is from Amazon, but check your library, too. http://www.amazon.com/Complete-Book-Jewelry-Making-Introduction/dp/1579901883


Finally, another fun source of materials is buying old and broken jewelry to harvest for parts. Watch estate sales, auctions, and mall clearance racks for that special something you could rescue. I hope you have fun starting the adventurous craft of jewelry making. Please follow us on Facebook, where we have many local jewelry designers happy to answer your questions:


http://www.facebook.com/TennesseeCrafts

Thursday, July 28, 2011

How To Make Hot Process Soap Tutorial For The Beginner

Have you ever wanted to learn how to make soap at home where you can control the ingredients and have extra to share with friends and family? Today, I am going to show you how to make hot process soap at home in your oven. This picture here is an example of tropical fruit hot process soap. 


Hot process soap is usually a little more rustic and less polished that cold process soaps; however, with hot process, you can use the soap a lot sooner and use fragrances that might cause problems using the cold process method.


If you have never made soap before, you will have to invest in the basic equipment, including safety gear.


MATERIALS:
-goggles, gloves, apron
-large stockpot to use for soap only
-accurate food scale that weighs in both grams and ounces
-sodium hydroxide (lye)
-stick blender or whisk and wooden spoons
-measuring cups
-fixed oils such as olive, coconut, lard and many more
-colorants, either natural or synthetic
-fragrance, either natural or synthetic
-molds, you may use lined boxes or plastic food storage containers


You will also need a good basic soap recipe and about 2 hours of time. This link has a good beginner level recipe; however, there are many easy recipes available with a simple Google search:
http://www.eaudrey.com/basic2.htm


The two things that will be hardest to source are the food scale and the sodium hydroxide. I buy my sodium hydroxide online from Essential Depot: http://www.essentialdepot.com/ You should be able to find a digital food scale at Walmart or any other large superstore, or online. It does not need to be fancy; the one I am using in the pictures cost 14.99. The most important features are accuracy, being able to change units of measure, and how much it can weigh at one time, in case you are making a large batch.


STEP ONE: Prepare your work area. Gather all of your materials and safety gear, along with potholders, rags, and other kitchen basics and check that your oven can accommodate a large pot. Set the oven to 175 F.


STEP TWO: Put on your safety gear and weigh out your lye, water, and oils. I use empty ice cream pails, as they are easy and cheap to source and can be put in the microwave. If you are using any hard oils, like I am in the picture (mango butter), you can melt it in the microwave, but make sure to do it in short bursts, so the oil does not get too hot and melt the pail. 


STEP 3: You now have all your basic ingredients weighed out and any hard oils melted. Now you need to add the water to the pot first. this is very important for safety. Then, slowly add the lye to the water. Using a whisk or spoon, stir the lye crystals until they are fully dissolved. This may generate heat and an unpleasant smell. You can wear a mask if you like, but the smell will dissipate very quickly.


STEP 4: Slowly pour the oils into the pot with the lye/water mixture. Make sure you are still wearing your safety gear in case or spills or splashes, then stir the mixture  with a whisk, or use a stick blender until you get an opaque, uniform, creamy mixture with no separation of oil and water. You should be able to see a faint line in the mixture from your stirring implement. This is called "trace". 


STEP 5: Place your pot, without the lid, into the oven. Make sure that you have a few inches of space available for the mixture to "grow". You will now be checking the mixture every 10-15 minutes; it may be wise to set a timer.


STEP 6: Prepare your molds, fragrance, and colorants while the soap is cooking. You will also have plenty of time to wash any measuring cups or utensils that you have dirtied.


In this batch I am using colored Iron Oxide pigments as colorants. You can also use natural colorants, such as beet powder, tumeric, and clay. FD&C colorants are available from many soap making supply companies as well. Just make sure that your colorant are non-toxic and body safe. The same for your fragrance- you need to be using skin safe oils. Here is the link to the fragrance I am using in this batch, Sandalwood and Amber, make sure to note that the manufacturer has declared it soap safe. Many candle oils will irritate the skin, so they are not interchangeable with soap oils unless stated: http://shop.lebermuth.com/manufactured_fragrances-p-sandalwood_amber.php


For my molds, I am using silverware drawer dividers lined with plastic. Other options are wood molds, silicone molds, metal bakery pans, and food storage containers. The soap will be hot when going into the molds, so you need to chose a container that will not melt or warp from the heat. If it is a non-flexible material, you should line the mold to prevent sticking. Silicone molds do not need lining. They are my favorite and withstand high heat, although they can be expensive.


You should now have your molds prepared, colorants ready, and fragrance weighed out. If you are unsure how much colorant or fragrance to use, consult your recipe or the supplier's recommendations. Typically, 1 oz of fragrance per 1 pound of base oils will make a very strong scented soap. You may want to start with less if you are sensitive to fragrance, or if you are using an expensive essential oil. Powdered colorants should be dispersed in vegetable glycerin before adding to the soap. I mix mine in disposable bathroom cups. You will not need very much, as they are highly concentrated.


STEP 7: Check your soap in the oven every 10-15 minutes, even if it is just to open the door and peek to make sure it is not climbing over the edge of the pot. If you see it expanding close to overflow, simply stir the mixture back down. You may use this time while the soap is "cooking" to prepare any additional colorants and additives, like oatmeal, and continue cleaning your dirty equipment and putting the fixed oils and lye away.


STEP 8: Continue cooking the soap and checking every 15 minutes. Keep the temperature at  175 F. It should thicken and begin to look a bit lumpy by the first or second check. Stir the pot every time you check and make sure you are wearing your goggles and oven mitts. Hot soap splatters are not pleasant.


Soon your soap will form big, distinct lumps and it might get transparent in places. This is called the "vaseline stage". The soap is getting hot enough to go through gel, where they lye and oils are reacting and generating heat.


This picture is at the 45 minute mark. The soap is now more opaque and slightly lumpy, but not thick. We want to cook the soap until it reaches a very high viscosity, like mashed potatoes. If you can easily stir the mixture, it is not ready.


This is the one hour and 15 minutes mark. It is getting thicker and lumpy, but there are still some watery parts.


Here is the soap at the one hour and 30 minutes mark, it is very thick and almost ready. This is where you will remove it from the oven and stir the mixture, until it is more creamy and less lumpy. Then add your fragrance and additives and continue stirring with the pot removed from the oven for 2-3 minutes. This will be too thick to stick blend, you will need to stir by hand. 


If you want to make sure your soap is fully cooked, you can do this simple test, Dip in a spoon and get a small amount of soap. Let the soap cool until you can touch it gently with a bare finger. You should not get any sting or burning sensation. Then touch just the tip of your tongue to the soap, if you get a zap, or small electric shock, the soap is not done. If you notice a burning sensation on your skin or a zap, put the soap back in the oven for 15 more minutes and test again. If the soap continues to zap or burn, you have made a soap with too much lye and it will need to be discarded. You can save the batch by making laundry soap or rebatching with additional oil; however, that is beyond the scope of the beginner level.


Try to incorporate your fragrance and additives completely, before "glopping" the soap into your mold, otherwise you may have pockets of fragrance oil leaking from your soap.


At this stage, the soap is still in the pot and uncolored, if you want to do layers, or swirls, you will need to work quickly with the colors, as the soap will set up very quickly as it cools. This series of pictures shows pouring the soap into the molds in layers with different colors and then the final cut soap. See how lumpy and rustic the finished bars are? They will need to be trimmed up and left in a cool, dry, dark place for storage. They may be soft for a few days, depending on how much water and fragrance was in the recipe. 


Can you notice in the first picture the oily layer on the soap to the left? That is excess fragrance oil that did not fully incorporate into the soap. I took a spoon and stirred the oil into my soap more, while in the mold; however, I ended up with a softer bottom layer on that loaf. It will need to be trimmed off or left for a long time to harden, perhaps a few weeks or more. 

When finished spooning the soap into the molds, try to press the surface down or gently lift the mold and bang it on the counter, to help air pockets escape.


As long as your soap is not lye heavy, the soap can usually be saved if it doesn't turn out right, either by letting it cure and dry for an extended period, trimming off the offending portion, or grating it like cheese and adding it to another batch.


You may test your soap as soon as it is firm and cool, but keep in mind that the longer it cures, the harder the bar will become. I advise to let the soap cure 4 weeks before sharing it.


For troubleshooting, the most common problem will be soft soap, as many soapers add a few extra ounces of water, so that the soap will be easier to stir and get into the mold. It could also result from a portion of the batch where the fragrance was not fully stirred in. If the soap is still soft after 3 or 4 weeks, you will need to research "rebatching" the soap in order to save it.


This soap will need to be sliced, trimmed, and polished. I use a vegetable peeler for small areas and edges and a dry terrycloth rag for polishing unsightly regions.


Enjoy your soaps! This tutorial and pictures provided by Clare Corcoran of Murfreesboro, TN and proprietor of Mylana http://www.etsy.com/shop/Mylana

Friday, July 22, 2011

Tutorial: Making Container Soy Candles

Making candles is an easy hobby to learn that brings great satisfaction in burning your own handcrafted pieces and giving them as gifts; however, making great candles takes a lot of research and access to high quality materials. The scents and dyes that you find in the craft store will make good practice materials, but in the long run, it is much more economical to purchase the basics in bulk from a well-known supplier. Soy wax is finicky and some scents and wicks just don't perform well in vegetable waxes. Your best bet is to find a supplier that provides product reviews and offers sample sizes of fragrances. Personally, I like Bittercreek North as a good first supplier: http://www.candlesupply.com/


BASIC MATERIALS:
-glass containers, try to find thick, heat-resistant glass
-soy wax flakes
-wicks
-wick stickums or glue dots
-chopsticks or paint stirrers
-candle fragrance
-dye
-digital scale
-double boiler or wax melter
-thermometer


This kit in the picture is from Mill Creek Candles and is only 23.99. It includes most of the basics and instructions: http://www.mcsoywax.com/candlekits.htm


Step 1) Prepare the area you will be using. Candle making is messy! Line your work area with tin foil to protect from spills and gather a few rags.


Step 2) Melt the wax. I use a Presto Pot with a spigot wax melter set at 170 degrees F. You can also use a double boiler or the microwave. Be cautious with the microwave and supervise the wax as it melts, melt it in 2 minute bursts. I do not use the microwave method, because I have had problems with my melting containers breaking or getting too hot and leaking, making a sticky mess in my microwave. If you like to use the microwave, I strongly suggest getting a cheap, secondhand microwave just for crafts.


Step 3) Prepare your jars and wicks while the wax melts. Use wick stickums or glue dots to adhere the wick to the bottom of the container. Most wicks come with a 15 mm metal tab. If yours do not have the wick tab, they can be bought at any major supplier. Lay a chopstick or paint stirrer across the tops of your jars and bend the wick so it is laying snugly on the wick bar in the center of the jar.


Step 3) Calculate your fragrance usage rate. Soy wax typically holds up to 8% fragrance. If you add too much, it will leak out of your candle. Check your manufacturer for the percent FO (fragrance oil) that is recommended and then calculate how much wax you will be melting and how much FO to add. The easiest way to do this is to get the vessel you will be using as a pour pot and weigh the empty container. When the wax is melted, fill your pouring container with wax and put it on the scale. Subtract the weight of the container itself and you will then know exactly how much melted wax your pouring pot holds. Then calculate how much fragrance to use for one pot of melted wax (typically 8% with soy). Most fragrance oils are sold by the ounce so make sure both the weight of your melted wax and FO are in the same unit of measure.


Step 4) Weigh out the amount of fragrance you will need for your pot of wax and take the temperature of the wax. Very hot wax will cause your FO to evaporate out before you even pour your candle, weakening the scent. Most soy wax melts around 125 degrees F; a good temperature to add the scents is 135-140.


Step 5) Add your scent and dye to the wax just before pouring. I use liquid dyes, but many people prefer uncolored soy candles.


Step 6) Pour the wax in the jars, but leave about 1/2 inch at the top. Soy wax often hardens with sinkholes, air bubbles, bumps, or frosting. You can melt a small amount of wax and do a second pour to fix any unsightly flaws. The other method is to use a heat gun from the hardware store to melt the tops. Be careful to keep the heat on low and at least 6 inches away from your candle. The heat gun is hot enough to ignite the wick if you are not careful, ruining your candle.

Step 7) Test burn your candle. Always trim your wick to 1/4 inch before each burn. Take notes on how the candle burns and what size wick and jar you used. Jot down the fragrance used and how it throws (fills up a room) when lit.


Final notes: make sure to have a first aid kit and a fire extinguisher handy for emergencies, purchase your starting ingredients in the smallest size, in case they don't work well, keep a variety of wicks on hand for testing different size jars, buy canning jars at the grocery store for heat resistant glass and no shipping charge.


You can see all my candles here in my etsy store Mylana: http://www.etsy.com/shop/Mylana?section_id=7512281

Thursday, July 21, 2011

That Vintage Look, How To Oxidize Jewelry With Liver of Sulfur

Hi, I'm Clare and I operate the Etsy shop Mylana. http://www.etsy.com/shop/Mylana
One of my favorite ways to relax before bed is to make jewelry, but sometimes I get disappointed becuase the pieces look too much the same. In order to spice things up a bit and add variety, I like to add a patina, or an aged coating, to some of my pieces. In this tutorial, I will show you how to oxidize your jewelry in 5 minutes, using this easy method.

First, you will need liver of sulfur gel. I purchased mine from this etsy seller: http://www.etsy.com/shop/matsbeads The cost was less that ten dollars and has been enough to oxidize 4 batches of jewelry.


The next step is to mix the gel with hot water. 1 teaspoon for 12 oz of water is recommended. Watch out, it does smell very strongly of sulfur! You might want to do this outside. Some alloys do not patina well, but if your piece is sterling silver, silver-plated, or copper, it will patina. From experience, not all bronze or brass look metals will patina; you need to experiment.


After you mix your liver of sulfur with the hot water, you will have a brown solution of sulfur water. Gather the pieces you want to oxidize, and place them in the solution. It will discolor cloth and felt beads, so you can oxidize your findings before assembling the jewelry as well.

Leave the jewelry in the solution for 3 or 4 minutes and check the level of discoloration. If there is no patina on the object, you need to add more concentrated gel. Check again in 3 minutes and if there is still no discoloration, your metal alloy does not contain enough pure silver.


When the desired level of darkness is attained, remove the items from the solution. If you use your hands, the solution will smell of sulfur, but it will not stair your hands. Lay the jewelry on a cloth to dry and dispose of the sulfur water. According to the manufacturer, the sulfur solution is great for fertilizing plants, tomatoes in particular, so don't dump that water down the drain, give your vegetables or houseplants a mineral boost!


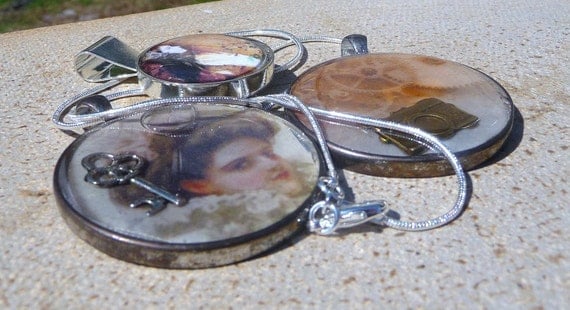
Here is the jewelry after the oxidation process: