'Feral Forest' by Mylana
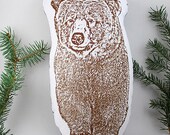
I love bears and decided to make a treasury dedicated to these adorable, fuzzy woodland creatures.
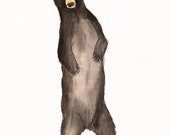 American Black Bear Pai...
$14.00
| 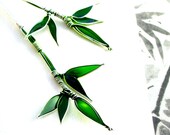 Silver Bamboo Earrings....
$69.00
| 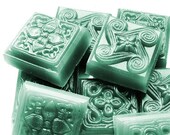 Christmas Soap Celtic K...
$5.00
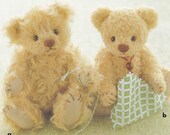
|  Handmade Plush Grizzly ...
$18.00
|
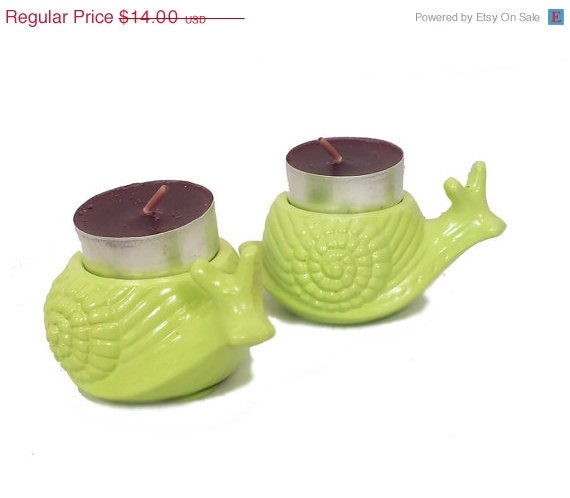 two snail lime green ca...
$10.50
| 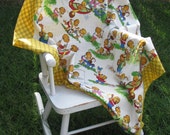 Berenstain Bears baby b...
$25.00
| 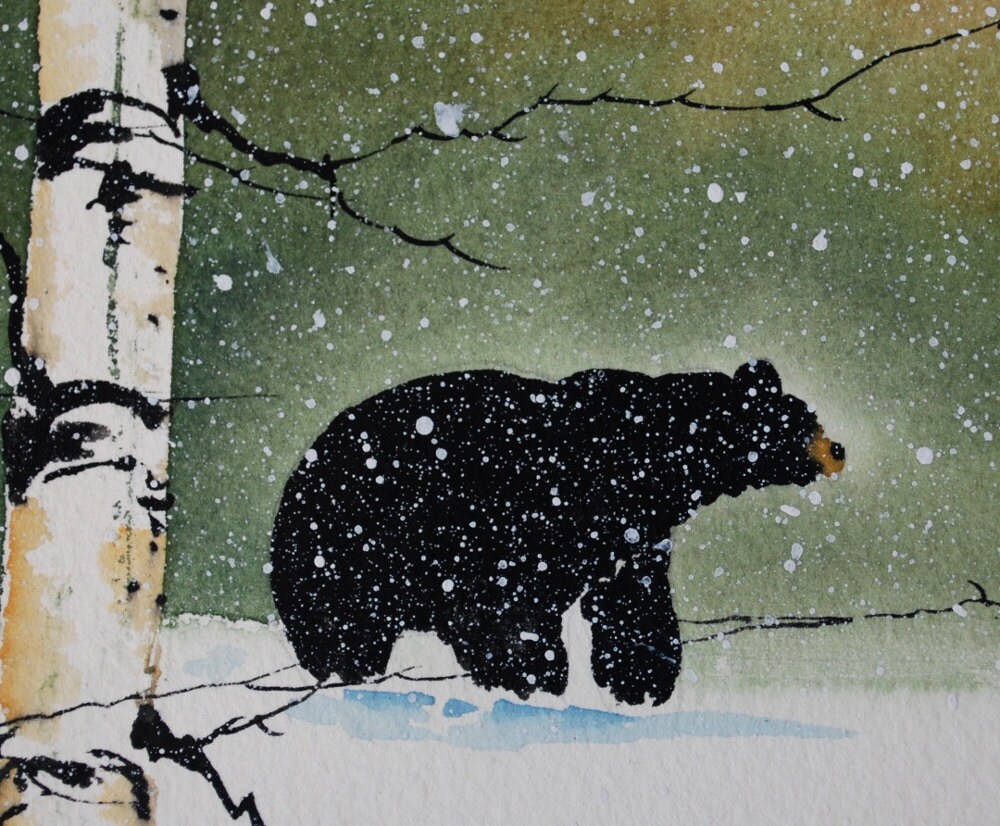 One of a kind water col...
$190.00
| 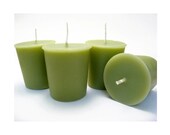 Soy Votive Candles. Sen...
$5.00
|
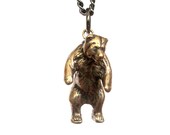 The Tiniest Cave Bear ...
$29.00
| 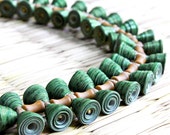 Woodland bracelet - Gre...
$47.00
| 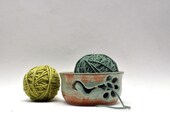 Pistachio Green Pottery...
$28.00
| 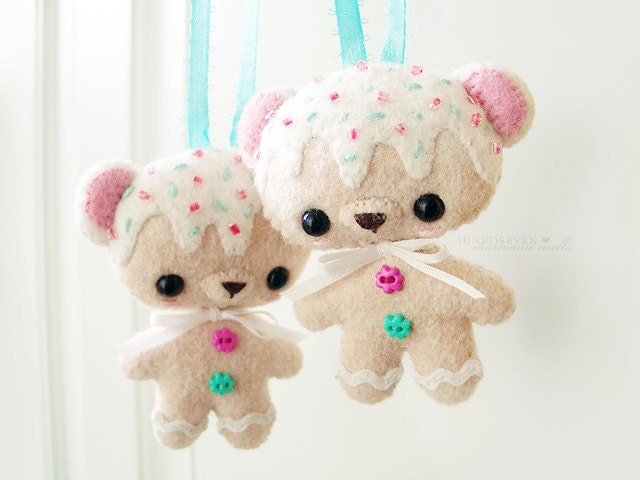 Felt Sugar Cookie Bear ...
$15.00
|
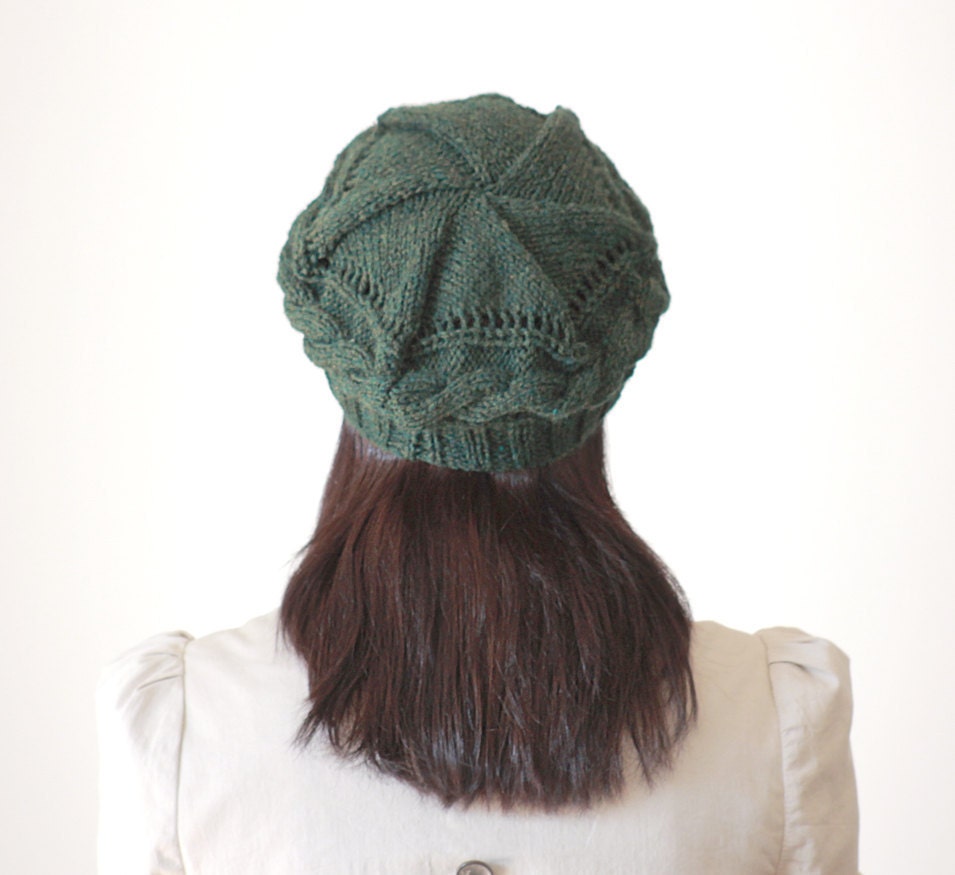 womens knit hats, Green...
$32.00
|  Cute Teddy Bear Plush S...
$3.00
| 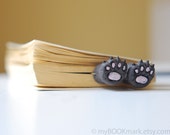 Cat paws .Bear paws in ...
$25.00
|  Vintage Small Green Woo...
$16.00
|
Treasury tool supported by the dog house