Thursday, January 31, 2013

How To Make Shimmery Paper Earrings Tutorial

Handmade Glittery Paper Earrings
Whether it is cooking or craft supplies, most of us despise throwing out perfectly good leftovers, and like food, prepared casting resin has a limited time frame to use it in, before it is spoiled and unworkable. A few nights ago, I was playing with EZ Cast resin and a new bracelet mold, when I realized that I had made way too much resin mixture and had to find a use for it. I decided to add some pizazz with teal glitter and laminate card stock with it, for later projects. One of the experiments I tried, was making paper jewelry, like the earrings above. I found this to be a great way to use up my extra resin and make lightweight and comfortable jewelry.

This is a very easy project and you do not need to have prior experience with mixing resin. Just follow the instructions on the package. Jewelry making resin is available for under 20 dollars at Hobby Lobby or online. You will need to know some basic jewelry making techniques to assemble the earrings.


Simple But Fun Handmade Jewelry
 MATERIALS:
-EZ Cast or Ice brand jewelry resin
-thick card stock paper
-scissors
-1/16th hole punch
-jump rings
-ear wire findings
-basic jewelry making pliers set
-loose craft glitter (I used Martha Stewart brand)

Teal Loose Glitter
 STEP 1:
Mix resin according to package instructions. This takes about 2 mins. Use the resin in a project of your liking, such as pendants or cabochons. Take the leftover resin from your project and stir in loose glitter until you achieve the desired shade and uniform thickness. Please note, you have 15 mins working time with resin until it starts to harden, so move quickly.

STEP 2:
Pour the glitter resin mixture onto a thick sheet of flat card stock. It will self level and spread out. Make sure to leave a few inches of room for the resin to spread. If you have a lot of mixture, make multiple sheets.

STEP 3:
Allow 48 hours for the resin to harden.

Cutting the Resin Coated Paper
STEP 4:
Using scissors, cut the resin sheet into desired shapes.

STEP 5:
Using a 1/16th inch hole punch, put a hole in the top of each shape for a jump ring.

STEP 6:
Assemble the jump ring and ear wire finding and you are done!
1/16th Inch Hole Puncher

Monday, January 28, 2013

Valentine's Winning Team Treasury

'Valentine Red' by tngal22

For the love of red! ;)


Custom Name & Color Lac...
$13.50

Cupid's Corner Cafe...
$21.95

Valentine Red Door - As...
$45.00

Chic Crochet Ready For ...
$7.95

Sugar Whips Body POLISH...
$6.95

Valentine's Red Vin...
$30.00

Valentine's Day Mom...
$26.00

Valentine red pink and ...
$13.50

Valentines Red Pink Whi...
$28.00

Valentine red chevron d...
$35.00

Striped Pixie Baby Hat,...
$30.00

Whimsical Valentine Red...
$149.00

I Love You a Bushel and...
$20.00

SALE - Valentine Red Fa...
$21.99

Valentine Red Bakers Tw...
$5.00

Valentine's Red Jou...
$30.00

No -Sew Felt Flower Brooch Tutorial

Handmade Felt Flower Brooches

Want to make your own floral pins and brooches for spring? These pretty petals require no sewing or expensive materials to create. The only downside to assembling them without stitches? You will need glue, a lot of glue. The felt fabric absorbs adhesives well, so you will need to use extra glue and allow extra drying time of 2-4 days.

Please note that if you want images inside your cabochons, you will need to glue them in and trim them in advance. You can also use buttons, small rocks, star anise, or other decorative objects as the center of the flower. Make sure the back of your cabochon or object is flat and smooth for best adherence to the felt fabric.
Gray Brooch
Materials Needed:
-craft felt, 1/2 sheet per flower
-adhesive, E6000 or hot glue gun (I use E6000)
-cabochon or button for the center
-scissors
-pin back
Rear of Brooch

Step 1
 STEP 1:
Obtain a cabochon or decoration for the flower approximately 1 inch (25 mm) in diameter.
Step 2
STEP 2:
Cut a felt circle approximately 1/4 inch (6 mm) larger than the center cabochon.

Step 3
STEP 3:
Cut 3 additional felt circles, each 1/4 inch (6 mm) larger than the first.

Step 4
STEP 4:
Assemble the flower using a generous amount of glue, about the size of a quarter, between each layer. Press firmly on the center and hold for 60 seconds. Allow the flower to dry overnight and using a large dollop of clear glue, apply the pin back finding to the rear. Set aside and allow 2-4 days drying time before wearing.

HINT:
You may pinch the edges of the flower to form a rippled texture after it dried. Doing so before fully dry could cause the layers to come apart. If your flower falls apart after drying, try using more glue and assemble it again.

Sunday, January 27, 2013

Osio Mountain Lapidary Rocks!


Mary and Her Gorgeous Cabochons
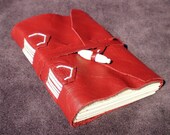
Slabs Ready to Cut
Today, we will be talking to Mary, an old friend of mine from a soap making forum about her latest passion, rocks, minerals, and cutting them into amazing cabochons for jewelry. Mary just opened her Etsy shop this weekend. Please look for the link and favorite her shop to help her celebrate the grand opening of Osio Mountain Lapidary. Thank you for your time Mary and I can't wait to see what you add to your Etsy shop!

Now That's What I Call a Serious Saw!


1) Please tell us a little bit about yourself and your craft?
I’m Mary and my husband is Jon, and we are total rock hounds! We make cabochons (for jewelry making) out of stone. First we cut rough rock into slabs, then shape it, grind it, smooth it, and polish it. We also collect fossils, and are slowly turning our own rocks and fossils into jewelry, as well as selling our designer cabochons to jewelry makers.
2) How did you get interested in rocks and cabochon making?
I’ve always loved rocks. When I was in kindergarten, my mom would find tons of rocks in my pockets! And I’d always smack rocks onto the pavement to try to find geodes! I never did, but it was fun. In the past couple of years, Jon and I have been interested in making our own jewelry and we loved the looks of rock cabochons, so we tried it ourselves and LOVED it! It’s truly our passion. We have more rocks than we know what to do with at this point! And Jon is a scientist, so we’ve been getting into fossils too. Our son Liam has his very own rock collection at the age of 3.
3) What types of equipment and materials did you need to get started?
With lapidary work, there are tons of pieces of equipment that we’ve had to buy slowly over time. If you want to get into tumbling, you need sturdy tumblers (not the kind you had as a kid!). Rotary tumblers shape rough stones, and vibrating tumblers finish the job, making a nice polish.
For cabochon making, we have a slab saw for slabbing rough rock into slices. We also have a tile saw with a diamond blade to cut the slabs into rough shapes. We have a cab machine (actually it was a grinder and we put a diamond wheel on it, along with an expando drum, with various belts with grits to move it from smooth to polished). We’re looking to buy a hand polisher to polish slabs and face-cut rough rocks, for specimens.
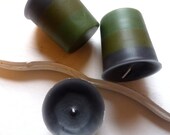
For jewelry making, we have a dremel with diamond drill bits on it. We also may buy a drill press for easy drilling for jewelry and – perhaps in the future – coring for candle holders.
4) Are there any low cost beginner options to get into this craft?
I would suggest tumbling. A good tumbler from Harbor Freight costs about $40 or so for a single barrel rotary tumbler. If you want to cut simple shapes with a saw, a tile saw with a diamond blade is your cheapest option. Otherwise, a heavy duty hand sledge hammer and a chisel are good for getting rough rock into small, tumbling pieces. Safety glasses are REQUIRED.
5) What knowledge of minerals and geology did you have before you started? How much have you learned?
We had basic knowledge when we started, but we have learned SO much in the past couple of years. We knew general things, like rubies, emeralds, what a banded agate looks like, that kind of thing. Now we know many different types of agates and jaspers, which we work mostly with. Did you know that flint comes in beautiful colors and swirls? We didn’t either, until recently. Mineral guide books will point you to expensive mineral specimens and barely gloss over agates and jaspers. You need to be on a rock forum or go on Ebay and browse to really learn the various types. We have also learned the MOHs hardness scale of various rocks, which is super important when you’re tumbling, so that things don’t scratch each other.
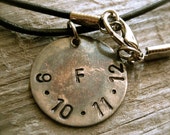
6) What are your plans for your cabochons?
Some of them we are selling as loose designer cabochons, but some will be turned into drilled pendants for jewelry. We would love to get to the point where we have more expensive items, as well as basic agates and jaspers. We would love to learn to work with softer items, which can be tough to get a good polish on.
7) How would someone contact you if he or she were interested in purchasing cabochons from you?
We have an Etsy site, which we just opened! We are constantly adding more to it. We also have a Facebook page, where you can PM us anytime!
Please attach a few pictures I can share, if you don't mind. A great idea is a before and after and then maybe some pics of finished pieces with your cabs and/or tools and equipment.
9) Do you have a FB fan page, twitter, etsy shop, or other website/social media to share.
Mary's Partner In Crime (See the Safety Goggles???)
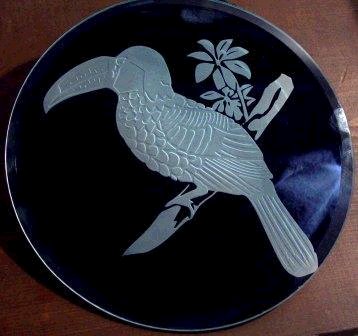
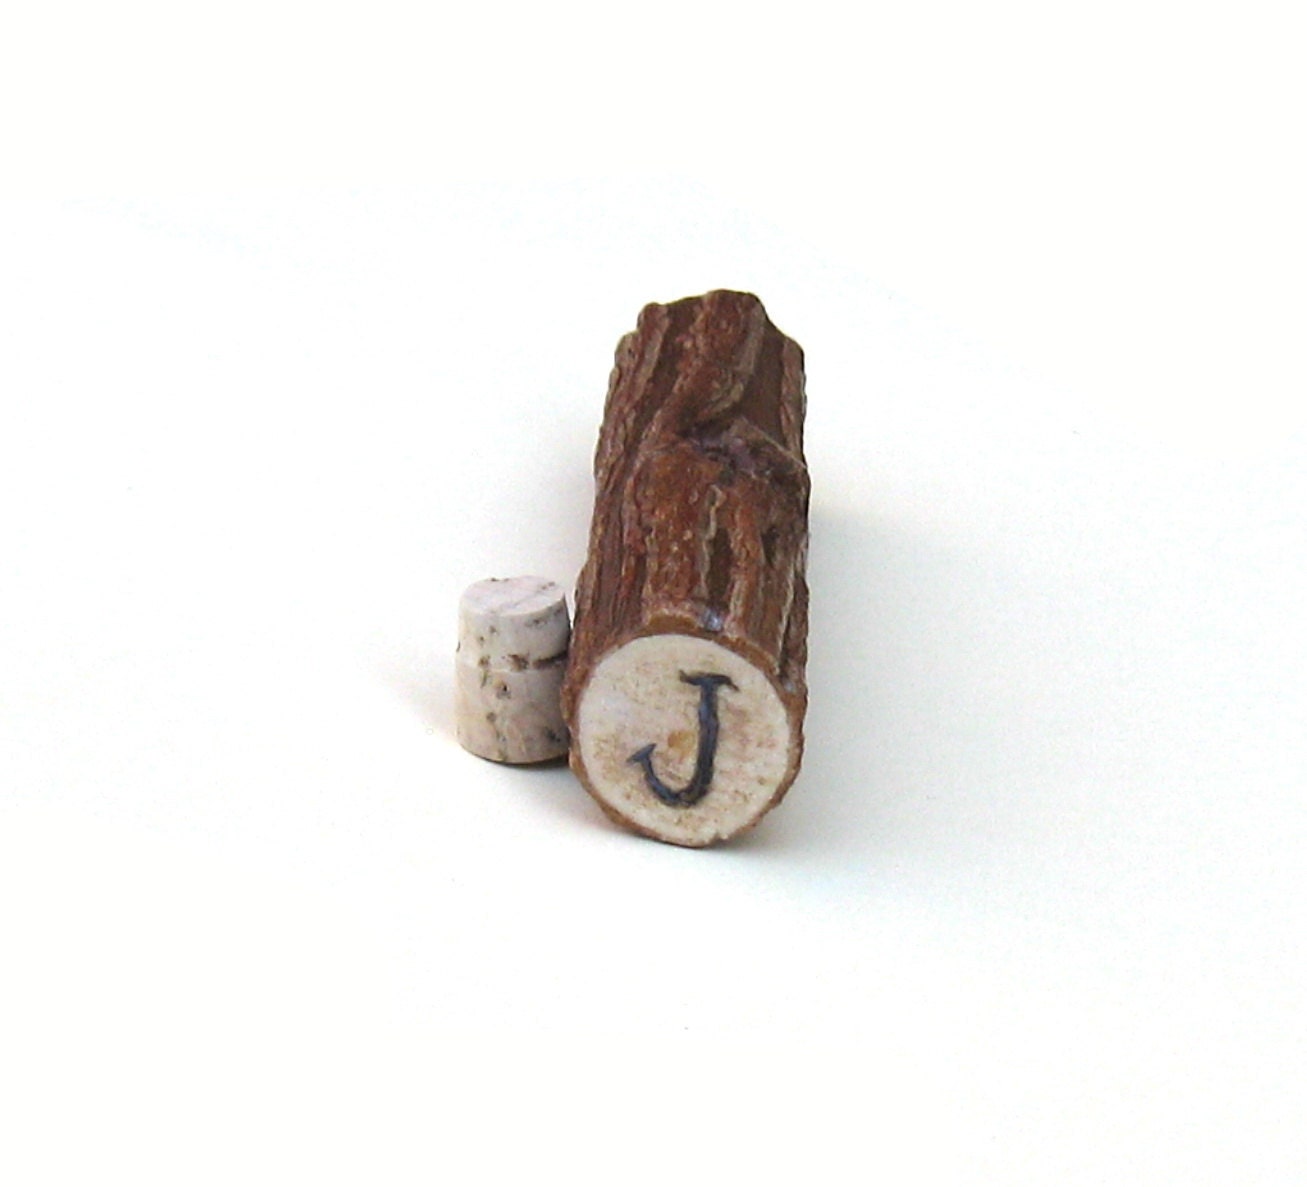
Amazing Rock
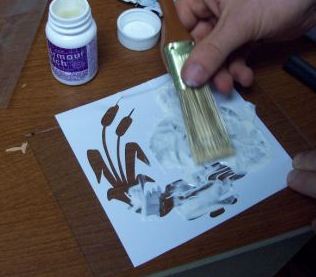
All Part of the Daily Grind...

Saturday, January 26, 2013

March Etsy Team Meetup: Murfreesboro, March 17th at 12 Noon

Make New Friends and Share a Smile With Old Ones

March 17th at 12 noon, we will be having at Middle TN Etsy Team social meetup at Hasting's in Murfreesboro. The get together will take place in the coffee house portion. Hastings is located on the corner of Memorial and Northfield Blvd.

Bring a friend, bring your family! Feel free to attend if you don't have an Etsy shop yet and are thinking of starting one. You can even bring samples and business cards to share, although it is totally optional.

Some topics of interest that may be discussed at the gathering are:
-new stores in Middle TN for craft supplies, classes, and handmade wares
-upcoming summer festivals
-features for the team blog (it could be your shop!)
-team activities online and future gatherings
-etsy shipping changes

Don't worry if you can't make it, we will have another social in May or June!

Friday, January 25, 2013

How To Get Started In Glass Etching

Etched Glass Plate by Eric Roberts

I've always been fascinated by the art of etching glass and wanted to try it, so I was delighted to be contacted by Eric Roberts, an artisan glass crafter about reviewing his new "Secrets of Glass Etching" ebook and website. Eager to find out the details and try out the techniques on some of my candles, I devoured the book and priced out the supplies. Much to my surprise, the basic materials for some of the starter techniques are very inexpensive! You can start glass etching today for an initial cost of about 50 dollars. The e-book cost starts at 19.00 and then about 30.00 for shipping and materials.

Let's get started by reviewing the ebook and what is information you will receive. Of course, you can always go to the library or buy a traditional paper book, but the ebook format is very convenient and easy to access. I like that it has click able links for supplies and videos. Traditional books don't provide the same level of information that can be had in video format.  After the book review, I will provide links to Eric's ebook and main website, where you can sign up for free patterns, watch videos, buy the book, and like him on Facebook.

The author and artisan, Eric, says this about how he got started, "I was always interested in arts and crafts since I was a little kid. Personalizing items was interesting to me, and I was always interested in starting a business that dealt with something creative. Basically, I was looking for a business idea and found an advertisement in an entrepreneur magazine which was selling equipment. Immediately I became attached to the idea because there is a ton of glass objects that can be personalized."


Eric Etches Glass With Etching Cream
So, what is all included in the book?
1) Basic descriptions and tutorial for several glass etching techniques. There are low cost and higher cost, but more professional looking options.

2) Step-by-step pictures of how to use the materials to etch glass.

3) Many examples of different objects to etch and projects you can make. There is everything from personalized mugs to candles with monogrammed initials.

4) Patterns and stencils, including actual pattern downloads or how to make your own to suit the different techniques.

5) Links to buy the basic supplies at the lowest cost.

6) An easy tip to enhance your projects to make your artwork more defined. with a click able link on where to buy the product.

There are also options to buy a membership where you can receive one-on-one technical support from Eric and get bonus videos emailed to you.


Eric Engraves with a Dremel Tool
Overall, I really enjoyed the simplicity of the book and the easy to understand pictures and lists of materials. The variety of projects was impressive and got me thinking of many things I could find around the house to practice on. Click able links for buying supplies is priceless. The ebook is straightforward and not confusing. This would be a great guide for anyone who wants the basics in a fuss free format with little technical jargon. It is written so that even the non-crafter can understand the beginner techniques. For the same price as a craft book from Amazon, this ebook is a great starting value.

Here are a few things I hope are included in revised editions:
-Tips and tricks for using the Dremel tool and where to buy glass engraving bits, along with a beginner guide to what is a Dremel and how does it work.
-Where can I buy a sandblaster for glass? How big is it? Is it noisy? Can I use it in my home?
-How to protect and care for etched glass objects. Can I wash the glasses in my dishwasher?
-More information about patterns, such as, how does contact paper work to make pattern? What kind of glue should I use for a regular stencil? Can I buy the vinyl patterns all ready cut out?

Finally, I would love it if Eric opened a supply shop on Etsy.com to sell glass etching creams and stencils.

Thanks so much for taking the time to write this ebook and contact me, Eric. I hope you get a ton of visits to your site!


The ebook ordering information is to the far right; however, you can access a lot of the basic information on the home page, plus see some supplies.
http://www.glassetchingsecrets.com/howtosteps.html

To follow Eric on Facebook:
https://www.facebook.com/glassetchingart?ref=stream

Tuesday, January 22, 2013

Jan. 27 USPS Rate Increases

Attention sellers and shoppers, Jan. 27th 2013, the USPS will be introducing new rates. If you are a customer, this might be time to snag a deal before prices go up. For sellers, it's that dreaded time to edit your etsy listings or website to reflect the increase in prices.

Below is an excerpt from the Etsy blog regarding shipping price changes:

Rate Overview
Most domestic mail classes will see a 3-5% rate increase across the board. The most significant increases you’ll see are in International First Class Postage and International Priority, primarily in smaller packages. Postage in these classes will increase by as much as 100% or more in some cases.
USPS Price Change Comparison
Etsy gets volume discounts from the US Postal Service, and we’re currently able to offer our sellers Commercial Base prices on most mail classes. As a result, some of the prices you’ll see below are lower than the prices you’ll see at USPS retail counters.
Additional USPS Service Changes
  • Parcel Post has been renamed Standard Post and is only available at retail locations. Parcel Select, a comparable service, will replace Parcel Post as an economical, ground shipping option on Etsy.
  • First-Class Mail International Parcel has been renamed First-Class International Package Services. With this change, prices for First-Class International packages have significantly increased.
  • USPS will begin offering free Delivery Confirmation to Canada with future countries to follow. This option will be automatically included for any postage purchased using First-Class International Package Service and Priority Mail International Flat Rate Envelope and Small Flat Rate Box package types.
  • The maximum weight for International Flat Rate Envelopes has decreased to 4 lbs from 20 lbs in 2012.
  • Optional Signature Confirmation has increased to $2.20.
To see the new prices in detail before they are released, download the USPS Postage Rates spreadsheet directly from USPS. Remember, Etsy offers postage at a volume discount of Commercial Base with the exception of Parcel Select and Media Mail.
We’re happy that so many of you have chosen to use Etsy Shipping Labels as your USPS postage solution. Happy shipping!
And here are a few tips from me:
- Tell your customers on Facebook and in your shop heading about the USPS rate increases, as not to take them by surprise.
-Be ready to refund shipping overages to your customers. That small gesture is always appreciated.
-Be systematic in editing your listings, so you don't overlook items. For example, edit all of your earrings listings and take a break. Then, do necklaces or another category with items of similar weight.
-Encourage customers to buy more to save on shipping. You can fit a lot in the flat rate boxes for the same price.
-Buyers, ask sellers about shipping discounts with multiple purchases, but beware of large or odd-sized items. Often, these cannot fit in the same box.

Thursday, January 17, 2013

The Tastiest Secret in Murfreesboro

Fresh Thai Food at International Grocery
There's no sign out front, but I knew that something was up on Bradyville Pike when I saw the smiling police officers exiting the international grocery store with satisfied grins and ample to-go-boxes. I was waiting for the bus and thirsty, so I decided to check out the international grocery for an exotic beverage to slake my thirst. In addition to a delicious strawberry flavored coconut water, I also found a small, Thai cafe with fresh cooked, authentic foods, and the BEST pad thai I had ever eaten!

The menu is small and the restaurant has no name; however, the service was impeccable, along with the flavor of the dishes. My table had an impressive array of condiments, from hosin sauce to fresh crushed peanuts. My favorite was the homemade red pepper in chili oil. The owner also sells this to-go in a 16 oz mason jar. 

Now I know food doesn't have much to do with crafts, but I love a good local small business to spread the word about and the bistro inside International Grocery is one to brag about, even if it doesn't have a name. It is located at 1622 Bradyville Pike in Murfreesboro, TN, next to Suds N Duds laundry. While my food was being prepared, I also found some interesting items in the grocery to use for crafts. 

Impressively clean, well lit, and organized, the grocery portion had foods, cookware, and spices from Asian, as well as Latin American countries. I purchased some rice powder for a body powder, sesame oil to put in my bath, and some fragrant wood sticks to add to a potpourri mix, along with vegetables and spices for my pantry. A few of the finds for my kitchen, for a much lower price than sold at World Market, were flavored green teas, mushroom soy sauce, ginseng coffee, lychee candy, aloe vera drink, and many varieties of ramen noodles.

One word of caution is that the food in the eatery is very spicy. You may want to ask them to tone down the spice a little, as you can always add more at the table if it is lacking. I adore spicy food and I found the regular spicy was a bit too much for even me, and I had to ask her to make it medium spicy. 

You can find more information and the 5 star YELP review here: http://www.yelp.com/biz/international-grocery-murfreesboro

FYI- the Middle TN Crafts blog, the official team blog of the Middle TN Etsy team, has been on a month long hiatus, due to health reasons. I am planning on publishing more often as my health improves; however, if you have any ideas, from crafty tutorials to local business reviews, contact me through my Etsy shop, Mylana; help with content is ALWAYS appreciated. Hugs and happy 2013 to everyone in Middle TN and those who live elsewhere!