 1) Glass Jars are amazing and very useful. It also feels good to reuse something that might have otherwise gone in the trash. Many food items come in glass jars. This picture here shows glass jars being used to organize art supplies. This sight has more ideas for reusing jars: http://www.apartmenttherapy.com/la/inspiration/repurposing-glass-jars--095925
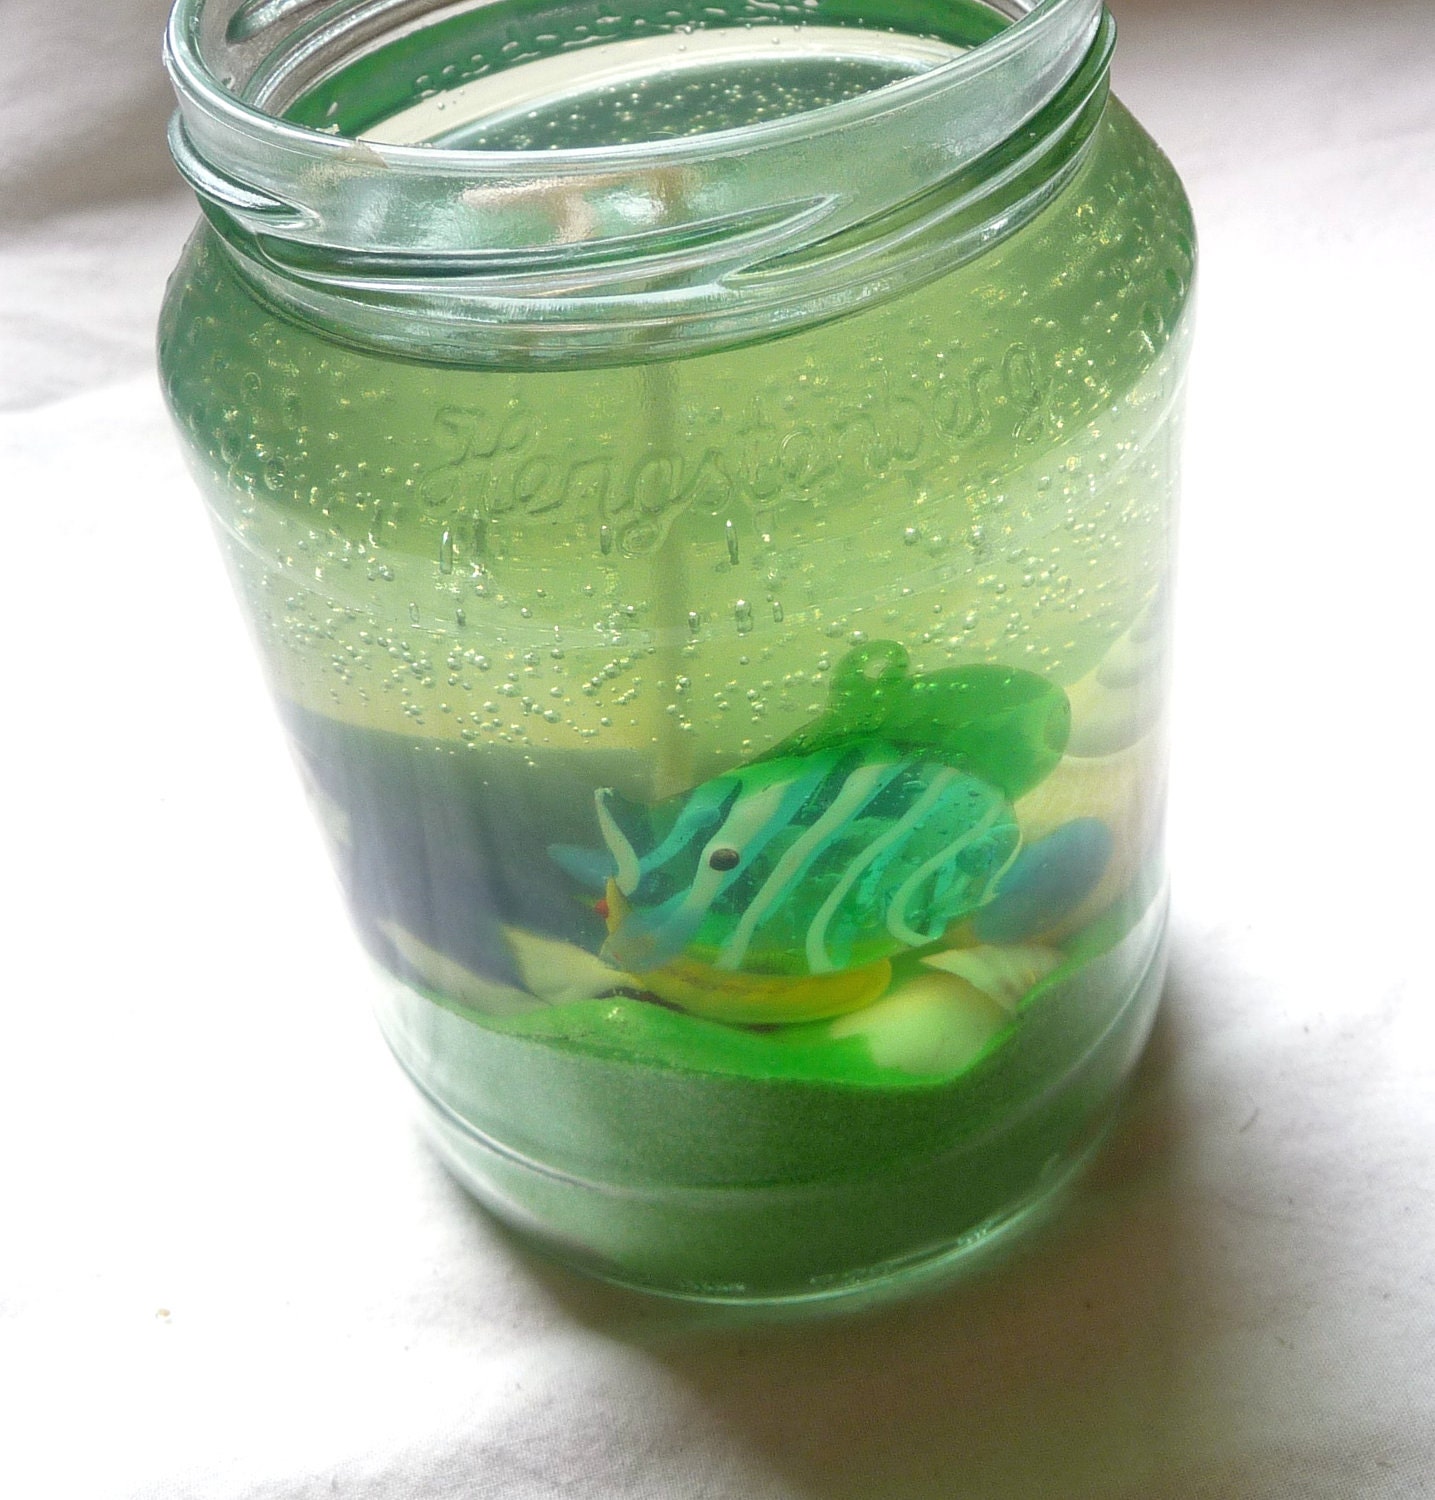 |
| Handmade Candle in Repurposed Jar |
So, yes, there are a TON of things you can do with glass jars- make vases, fill them with beans and pasta for Italian themed decor, even use them to organize small screws and other hardware...but, how do you get those pesky labels off? Sometimes it is a huge battle to remove the paper and sticky glue. I have uses Goo Gone and other solvents, and the labels still did not come off!
In a pinch, Vaseline is also great for chapped lips or very dry skin. I use it to remove stubborn mascara and eye makeup. Simply close your eyes and massage a dollop into your eyelashed and eyelids and then wipe off with a warm, damp rag or paper towel. Your eye makeup should be all gone, plus there are no fragrances to irritate your eyes. Some people dislike using petroleum products, so if you want, you can make your own un-petroleum jelly using beeswax and oils. Here are the instructions: http://www.grouprecipes.com/39452/un-petroleum-jelly.html

Need to wrap a small gift? Place it in the bag, roll it up, and tie with rustic twine. You now have an eco-friendly wrapped gift with county style. To personalize it further, you can use rubber stamps or paint to decorate the bag before wrapping. If you really want it to stand out, you can use decorative cloth ribbons as well.
 |
| Paper Bag Art Journal |
I really like this website, Creativity in Motion, where she explains how to turn paper bags into personalized art journals. See this link here: http://gretchenmiller.wordpress.com/2010/04/30/art-journaling-brown-paper-bag-style/
To keep kids occupied on a rainy day, grab a box of crayons and a stack of lunch bags and have them decorate their own lunch bags to take to school.
Big brown paper bags also make good material for covering textbooks that you can doodle on, and they can also be cut up and laid out flat to use for painting or oil pastel drawing. When I was in grade school, we cut them in a large oval and wrinkled them up, then drew designs on the brown paper that resembled a tanned and painted animal hide.

Finally, if you have way too many paper bags from shopping, or extra gift wrap after the holidays, consider shredding the paper and using it as filler to pad boxes for shipping or to line a basket when you are making a gift basket. Brown paper confetti strips look exceptionally nice as a filler for any country themed or primitive gift basket.
3) Arm and Hammer is right, there are one hundred and one uses for common baking soda; however, I will share with you a few uses for the crafty individual.
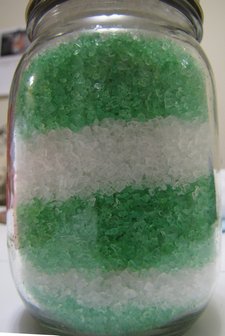
Who likes those fancy bath salts from the spa retailers for a long, hot soak? I do! If you want to make them yourself, and reusue your old glass jars for packagine, here is a simple recipe for a relaxing bath soak:
-1 part baking soda
-1 part salt of your choice (kosher, epsom, sea salt)
-Food color if you would like color (use sparingly, make sure it is FDA approved)
-Fragrance (body safe, used per manufacturer's recommendations)
If you have never used frangrance or essential oils before, I highly recommend starting with the smallest size fragrance oil from a reputable supplier before trying the essential oils from the health food store. While they might be all natural, some are very irritating to the skin, or increase sensitivity to sunlight. When you order from a bath and body supplier, you can see if the oil is skin safe and how much to use in your product. Take for example, this Apple Mango Tango fragrace from Bittercreek North:
http://www.homelifeweekly.com/wp-content/uploads/bath-salts-in-jar.jpg
There is a chart provided telling you exactly how much to use in a bath salt soak. Too much will irritate the skin. If you want to go with the essential oils, make sure to research first with ones will not irritate your skin and the maximum safe percentage.
Baking soda is also great in the kitchen and for clean-up after crafting. Sprinkle in the garbage disposal to kill odors or make a thick paste with dishsoap to scrub your hands after painting or other crafts. The abrasive nature will scrub that paint or glue right off!
 4) Old towels and clothing should NEVER go in the trash! You can cut them up for shop rags, an essential for all crafters, or get a fabric scissors and cut 1/2 inch strips of fabric to make chunky recycled ribbons. In general, terrycloth and soft, absorbent materials make the best rags, while silk and synthetic fabrics make pretty ribbons. Save denim and cut it up to make patches for decorating jeans or jean jackets. You can also make purses out of the seat, if you sew.
If you decide to make recycled fabric ribbons, a new trend is to wind them around wooden clothespins to storage and display. A collection of ribbons and twine wrapped around clothepins, or presented in one of your reused and decorated glass jars, makes a great gift.
5) Lastly, I will add a common object that is invaluable in the kitchen, the common plastic shower cap. If you are like me, you buy nice storage containers with lids to organize all your leftovers, and somehow, the lids dissappear! Use a shower cap to cover bowls and plates with leftovers when you can't find that lid. You can get a pack of 8 caps at Dollar Tree for 1.00 dollar.
What fun and fabulous ideas!!! You make me want to break out of my jewelry making box and do something different and fun! Thanks for sharing all of your info. And btw, you write so incredibly well that your blog posts are such an easy read. GREAT JOB!
ReplyDeletehi very nice blog and so cool information.If you decide to make recycled fabric ribbons, a new trend is to wind them around wooden clothespins to storage and display.
ReplyDeletecleaning rags