 |
| Greeting Card With Gold Embossing |
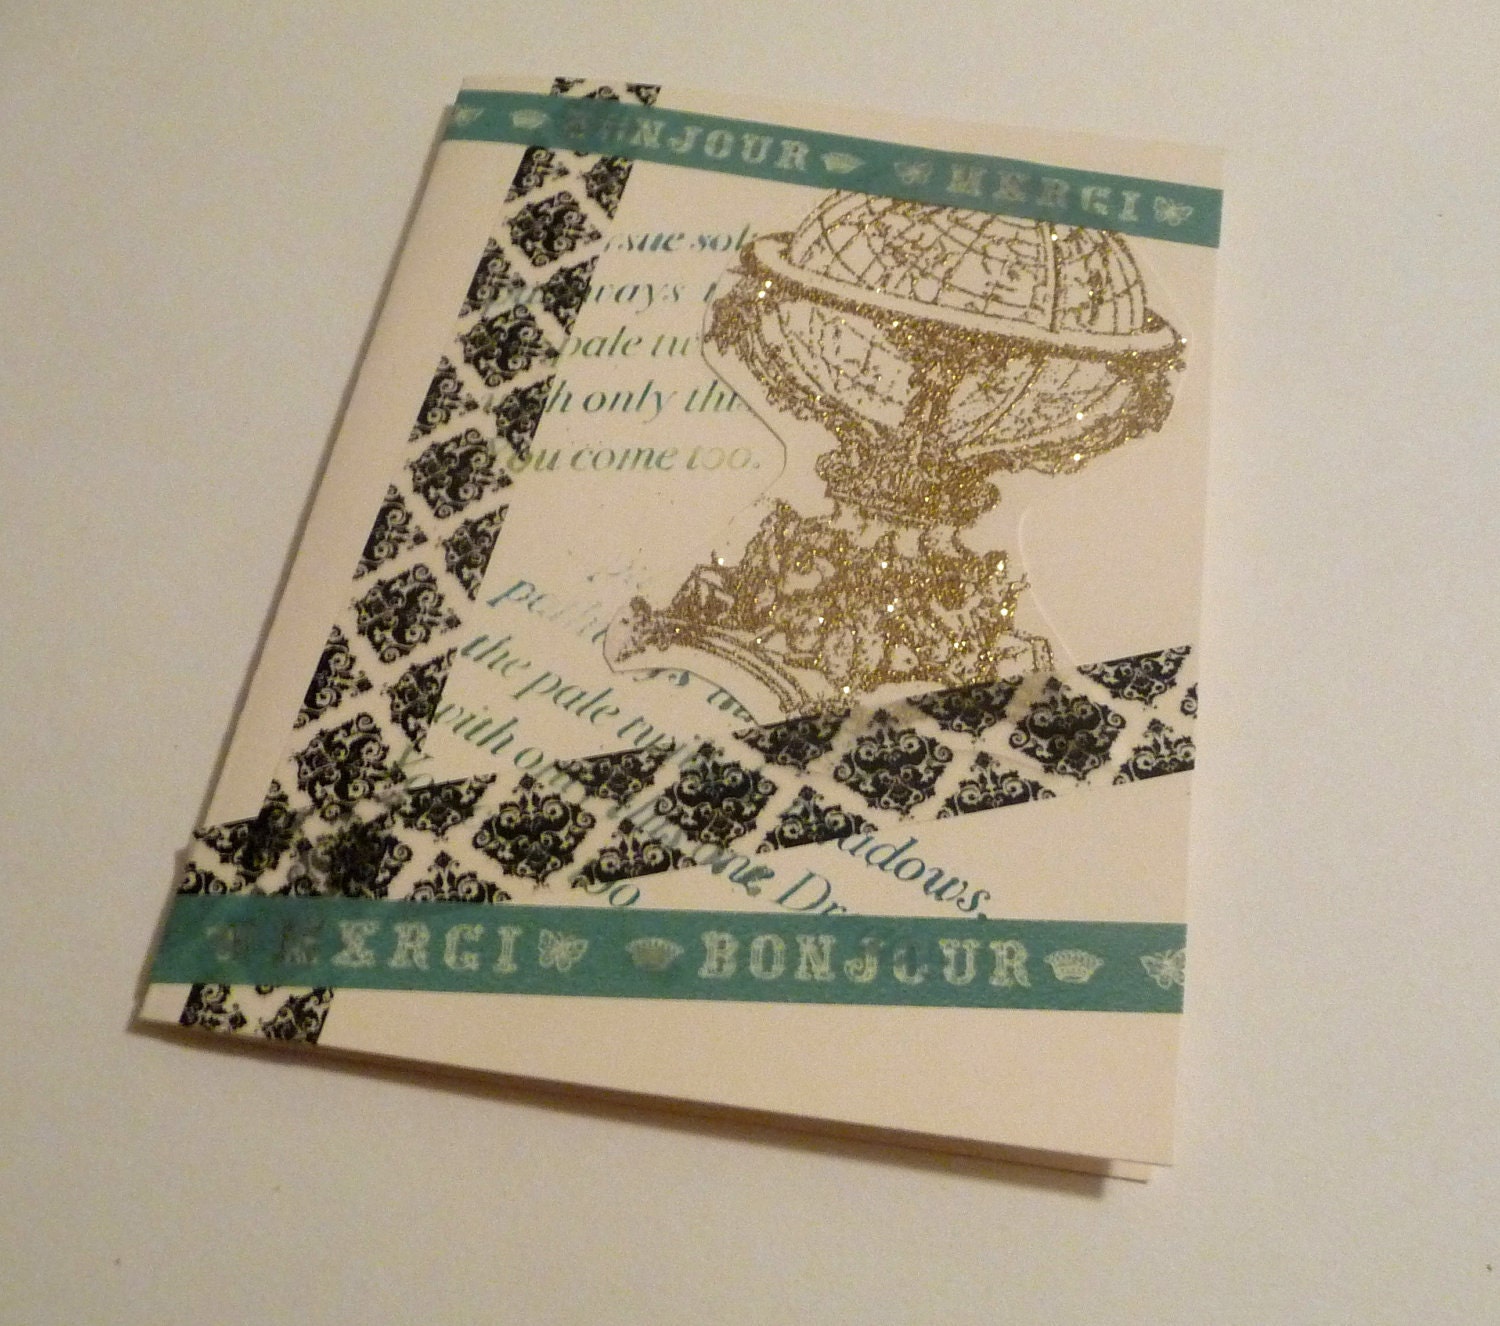
To begin the project, open the embossing powder and have it ready- you need to work fast for the the next two steps. Then, select a rubber stamp of your choice and evenly coat the stamp, using your embossing ink pad. These ink pads can be clear or tinted, with the tinted variety easiest to use, since you can see where to apply the powder. Stamp your image onto the paper surface and, working quickly, sprinkle the loose embossing powder over the image so it is evenly coated.
Let the paper sit for about a minute for the powder to set. Now, shake off the excess powder into a tray and you will have what appears to be a glitter coated image. You want to be able to save the extra powder and put it back into the container to get the maximum lifespan for your supplies. The final and critical step for the project is to apply heat to the design, where the powder will be melted and completely bonded to the paper. In order to do this, you need to use the heat gun to expose the design to direct heat for about 20-30 seconds. Hold the heat gun about 10 inches from the paper and make sure that you do not overheat, or your paper will catch on fire. You may want to do this on aluminum foil in case of an accident. As you apply heat, the powder will become shiny. Remember, you can always heat the image again with the heat gun, so be very cautious to start and do not keep direct heat on the paper for long periods.
When the image becomes shiny, after 20-30 seconds, the embossing is complete. Remove the paper with the image from the heat gun area and let it cool down. Also, let your heat gun cool before storing it- the nozzle will be extremely hot! The directions I read to use the embossing powder said not to use a hair dryer, as it will not generate enough heat. Fortunately, I had a heat gun on hand that I use for my candles, and the technique worked beautifully!
hi, found your blog on an etsylush thread and just had to say that this is a great tutorial with plenty of tips. love your shabby ribbons too!
ReplyDelete